Wondering how long to wait before staining your pressure-treated wood? You’re not alone. Many homeowners rush this crucial step, leading to wasted time, money, and disappointing results. The waiting period between installation and staining isn’t just a suggestion—it’s essential for the longevity and appearance of your outdoor projects.
We’ve helped thousands of DIYers and contractors navigate this common dilemma. While patience isn’t always easy, especially when you’re eager to complete your deck or fence project, understanding the proper timing can make all the difference in how your finished project looks and how long it lasts. In this guide, we’ll walk you through exactly how long to wait and why timing matters when it comes to staining pressure-treated lumber.
Understanding Pressure Treated Wood and Staining
Pressure-treated wood serves as the foundation for many outdoor projects due to its durability and resistance to decay. Before applying any stain, it’s crucial to understand the nature of this treated lumber and the proper staining techniques to maximize its lifespan and appearance.
What Is Pressure Treated Wood?
Pressure treated wood undergoes a manufacturing process where chemical preservatives are forced deep into the wood fibers using high pressure. These chemicals—typically copper-based compounds like ACQ (Alkaline Copper Quaternary) or CA (Copper Azole)—protect the wood from fungi, insects, and microbial decay. The treatment process creates lumber that’s resistant to rot, termites, and other wood-destroying organisms for 15-20 years. When you purchase pressure treated lumber, it typically appears greenish or brownish due to the copper content and contains approximately 40-60% moisture content, making immediate staining problematic.
Why Staining Is Important for Preservation
Staining pressure treated wood creates an essential protective barrier against damaging elements. UV rays from sunlight break down wood fibers and cause discoloration, while moisture leads to cracking, warping, and splitting over time. A quality stain penetrates the wood surface, depositing water-repellent oils and UV-blocking pigments that extend the lumber’s useful life by 3-5 years compared to unstained wood. Also, stain enhances the wood’s natural beauty by adding rich color while maintaining visible grain patterns. Popular stain types for pressure treated wood include oil-based formulations that offer deeper penetration and water-based options that provide easier cleanup and faster drying times.
Factors That Affect Drying Time
The drying time of pressure-treated wood varies significantly based on several key factors. Understanding these variables helps determine the optimal waiting period before applying stain to your outdoor projects.
Moisture Content and Weather Conditions
Moisture content directly impacts how quickly pressure-treated lumber becomes ready for staining. Newly treated wood contains up to 40% moisture content, which must decrease to about 15-19% before staining can be effective. Weather plays a crucial role in this drying process—warm, sunny days with good airflow accelerate evaporation substantially compared to cold, humid conditions. Placing your lumber in direct sunlight with space between boards can reduce drying time from months to weeks in ideal circumstances. Rain and high humidity levels dramatically slow this process, potentially doubling the wait time in some geographical regions.
Type of Pressure Treatment Used
Different treatment chemicals significantly affect how long you’ll wait before staining. Traditional CCA (chromated copper arsenate) treated wood typically requires 60-90 days of drying time due to its heavy water retention properties. ACQ (alkaline copper quaternary) treatments, common in most modern residential lumber, generally need 30-60 days before accepting stain properly. KDAT (Kiln Dried After Treatment) lumber offers a premium alternative that’s ready for staining almost immediately, as it’s dried professionally to optimal moisture levels before sale. MCA (micronized copper azole) treated products fall between these extremes, typically requiring 3-4 weeks of drying time in favorable conditions.
The Standard Waiting Period Before Staining
New pressure-treated lumber requires adequate drying time before applying stain for proper adhesion and long-lasting results. Most lumber needs between a few weeks to 6 months to reach the optimal moisture level, depending on several factors including the treatment process and environmental conditions.
Minimum Waiting Times by Wood Type
Different types of pressure-treated wood come with varying waiting periods before they’re ready for stain application:
- Kiln-dried after treatment (KDAT): This premium option is ready for staining almost immediately, typically within 24–72 hours after installation in dry weather conditions. The kiln drying process removes excess moisture, making this the quickest option for projects on tight timelines.
- Standard pressure-treated lumber: Non-kiln-dried wood requires significantly longer drying times. While the surface may feel dry after 2–3 days, complete drying often takes several weeks to months. Most experts recommend waiting at least 60 days post-installation for air-dried lumber to ensure proper stain absorption.
Signs Your Pressure Treated Wood Is Ready for Stain
Determining when your pressure-treated wood has reached the optimal dryness doesn’t require guesswork. Several reliable indicators can help you identify the right timing:
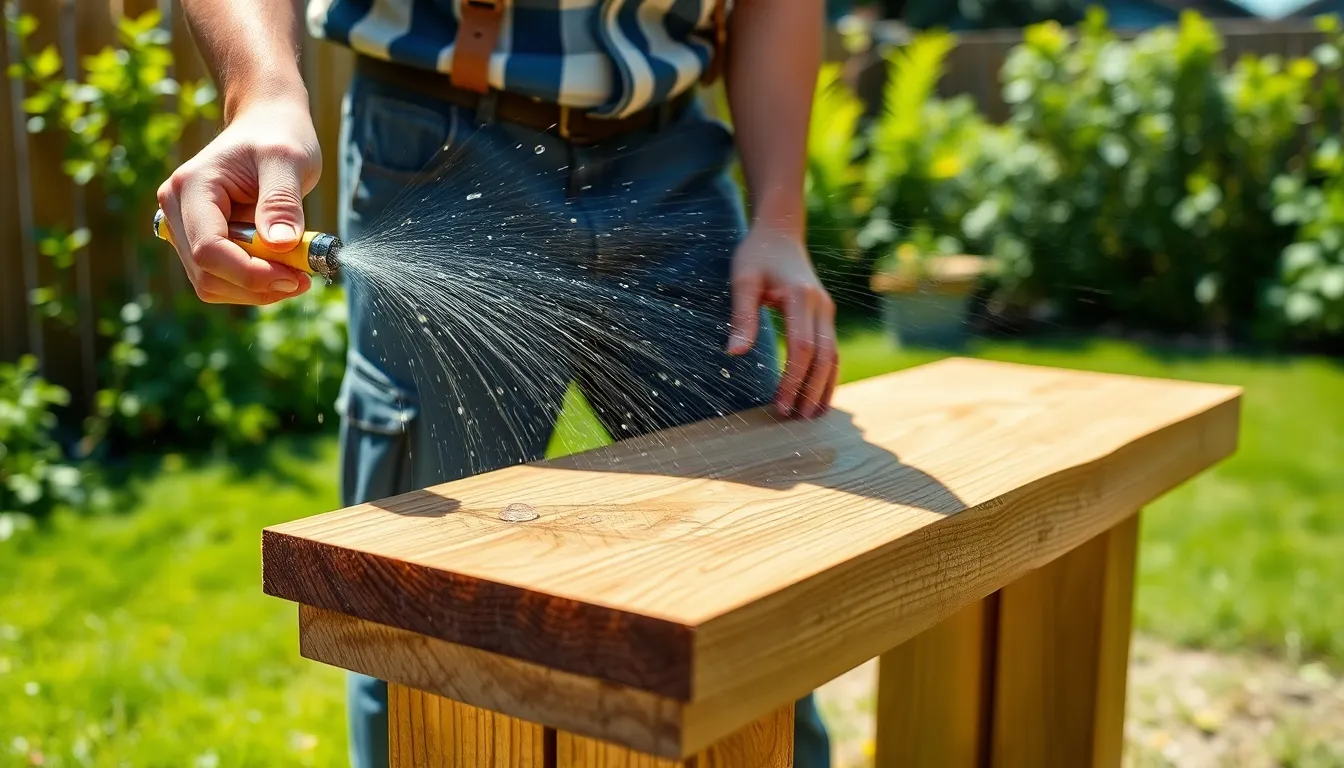
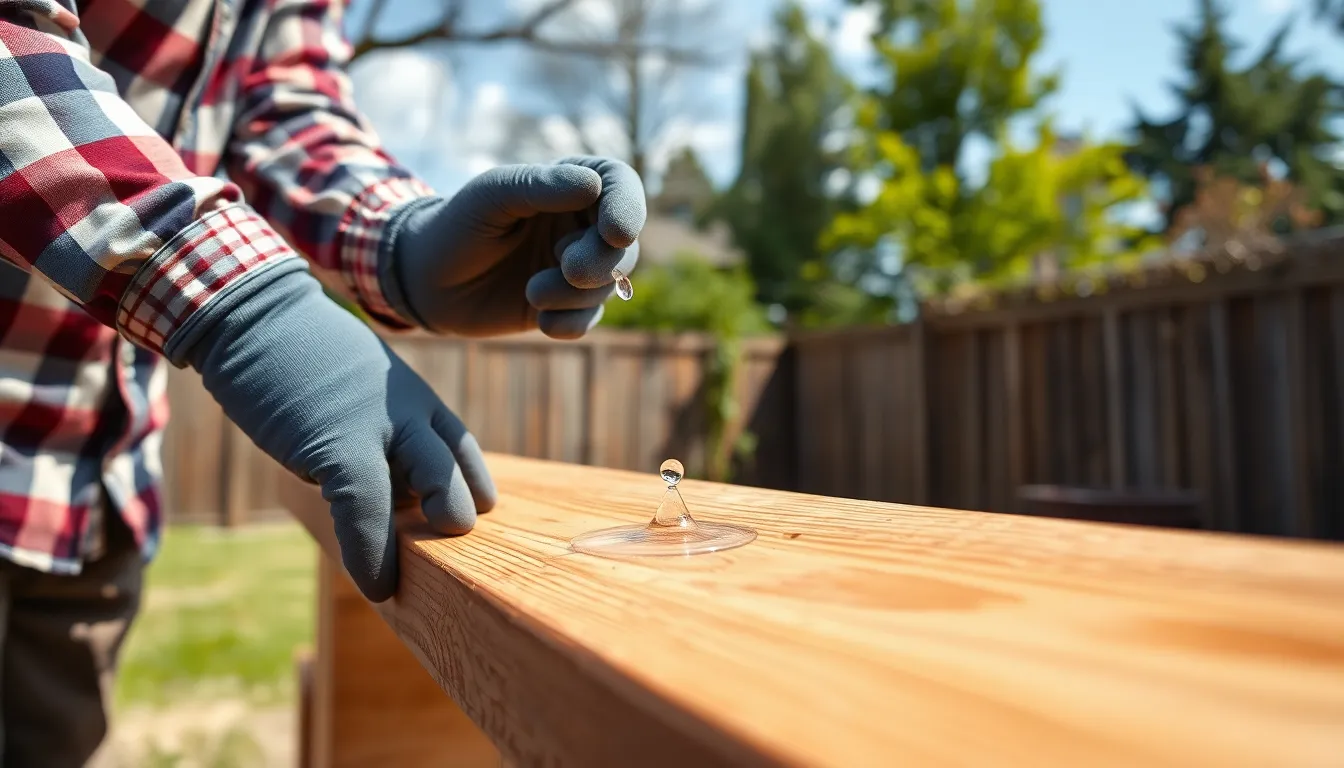
- The sprinkle test: Lightly spray water on the wood surface and observe what happens. If the water absorbs into the wood within 10 minutes, your lumber is likely ready for staining. Water that beads up and remains on the surface indicates excessive moisture content, signaling you need additional drying time.
- Moisture meter readings: For the most accurate assessment, use a moisture meter to check that the wood’s moisture content has dropped below 15%. This technical approach eliminates any uncertainty about your wood’s readiness.
- Weather considerations: Avoid applying stain during unfavorable conditions that can compromise results. Staining in direct sunlight, temperatures exceeding 90°F, or humidity levels above 70% will prevent proper stain absorption and may lead to an uneven finish.
Testing Wood for Readiness
Determining if your pressure-treated wood is ready for staining requires proper testing methods. These simple techniques help you avoid premature application that can lead to adhesion problems and wasted materials.
The Water Droplet Test
The water droplet test provides a quick, effective way to check if your pressure-treated wood is ready for staining. Simply sprinkle a few water droplets on the wood surface and observe their behavior over the next 10 minutes. Droplets that absorb into the wood within this timeframe indicate the lumber has dried sufficiently and is ready to accept stain. Conversely, water that beads up or sits on the surface signals that the wood remains too saturated with treatment chemicals and requires additional drying time. This practical test requires no special equipment and gives immediate feedback about your wood’s condition.
Moisture Meter Method
Using a moisture meter offers a more precise approach to determining when pressure-treated wood is ready for staining. These handheld devices measure the exact moisture content percentage in your lumber, eliminating guesswork from the preparation process. For most staining applications, the ideal moisture reading falls below 19%, though some professionals recommend waiting until levels drop to 15% for optimal results. Moisture meters come in two primary types – pin and pinless models – with each offering advantages depending on your project needs. Professional contractors rely on this method because it provides quantifiable data rather than visual estimation, ensuring the wood has truly reached the appropriate dryness level for successful stain application and long-lasting results.
How to Speed Up the Drying Process
Properly dried pressure-treated wood is essential for stain adhesion and longevity. Fortunately, several techniques can accelerate the drying process of your pressure-treated lumber, reducing the waiting time before you can apply stain.
Proper Air Circulation Techniques
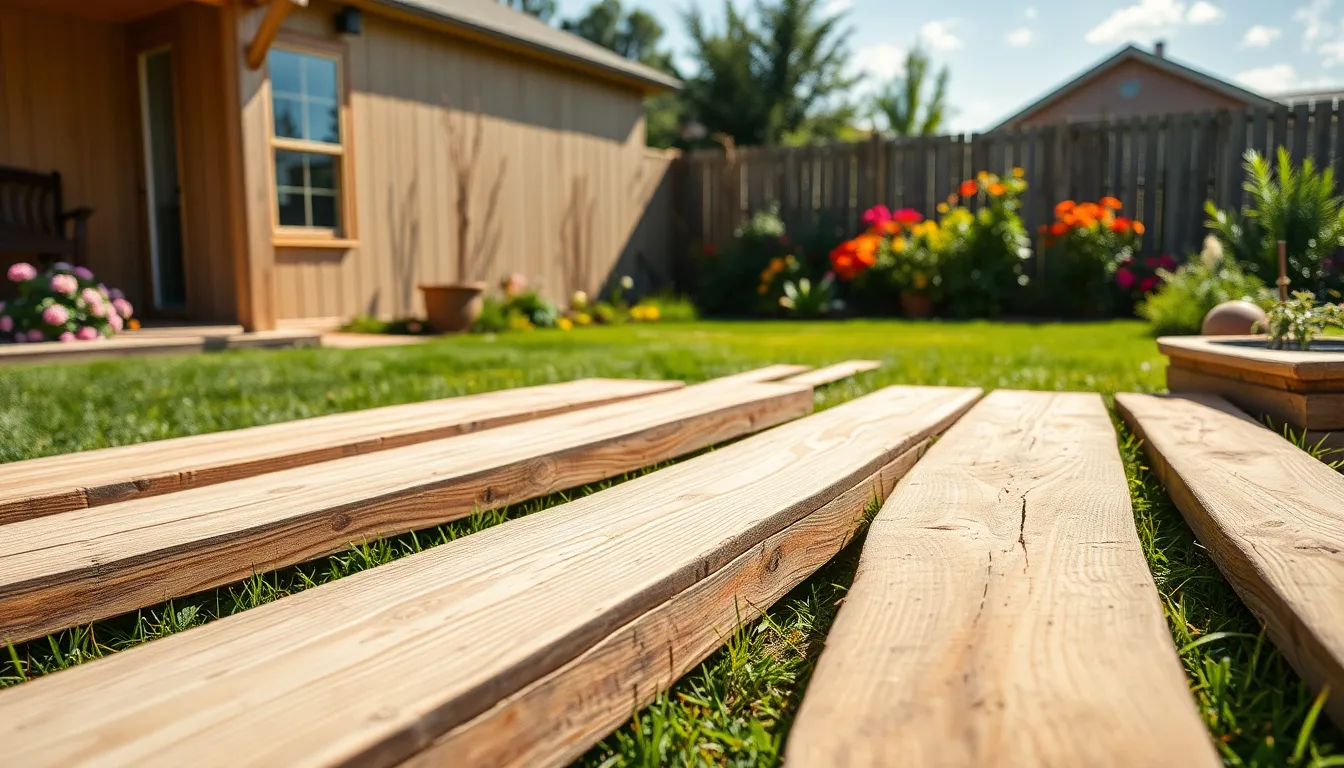
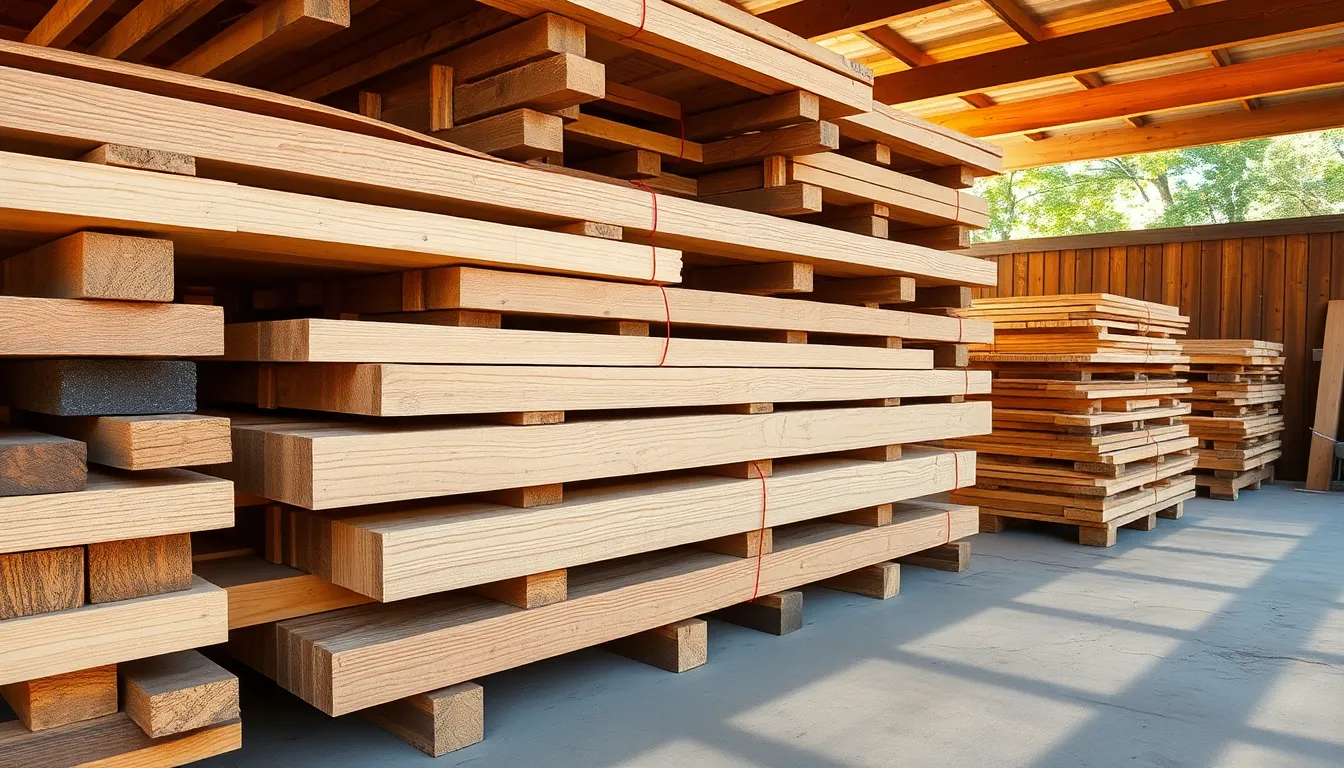
Air circulation plays a crucial role in drying pressure-treated wood effectively. Elevating your wood with spacers or stickers creates space between lumber pieces, allowing air to flow freely underneath and around each board. These small wooden strips placed perpendicular to your boards prevent moisture from getting trapped between surfaces. Avoid clumping or stacking boards tightly together, as this significantly slows down the drying process by trapping moisture between layers. Maintaining consistent airflow around all surfaces of your lumber promotes even drying and prevents warping or twisting as the wood releases moisture.
Strategic Wood Placement
The location where you store your pressure-treated lumber dramatically impacts drying time. Placing wood in well-ventilated areas with moderate sunlight and natural wind exposure creates optimal drying conditions without risking damage. Direct but not extreme sunlight helps draw moisture out of the wood fibers, while a gentle breeze carries moisture away from the surface. Arranging boards with stickers between them and weighing them down with bricks prevents warping while maintaining proper spacing for airflow. Position your lumber away from damp areas like basements or areas with high humidity, as these environments slow the drying process considerably.
During this drying period, remember to perform occasional water bead tests to monitor progress. When water droplets absorb quickly rather than beading on the surface, your pressure-treated wood is approaching readiness for staining, indicating the success of your drying techniques.
Best Practices for Staining Pressure Treated Wood
Properly staining pressure-treated wood requires patience and attention to detail. The right timing, products, and application techniques ensure your outdoor project maintains its beauty and durability for years to come.
Choosing the Right Stain Type
Selecting an appropriate stain is crucial for protecting your pressure-treated wood investment. Oil-based stains penetrate deeper into the wood fibers, providing enhanced durability and weather resistance for high-traffic areas. Latex stains offer faster drying times and easier cleanup, making them convenient for many homeowners. Both options work well with pressure-treated lumber, but it’s essential to avoid sealing the wood before it’s properly dried, as trapped moisture can lead to peeling and bubbling. Water-based stains typically provide a more environmentally friendly option but may require more frequent reapplication than their oil-based counterparts.
Application Techniques for Optimal Results
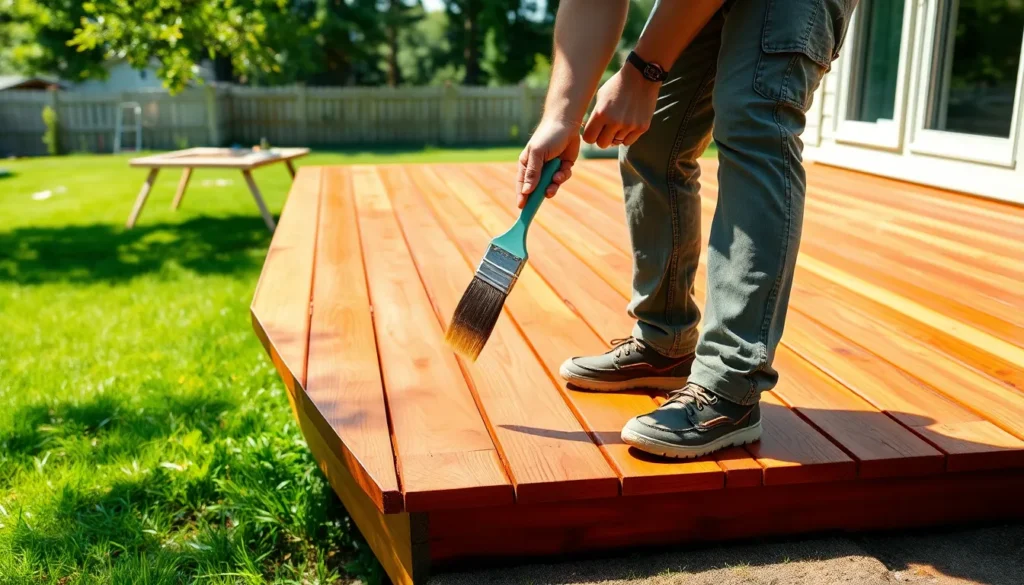
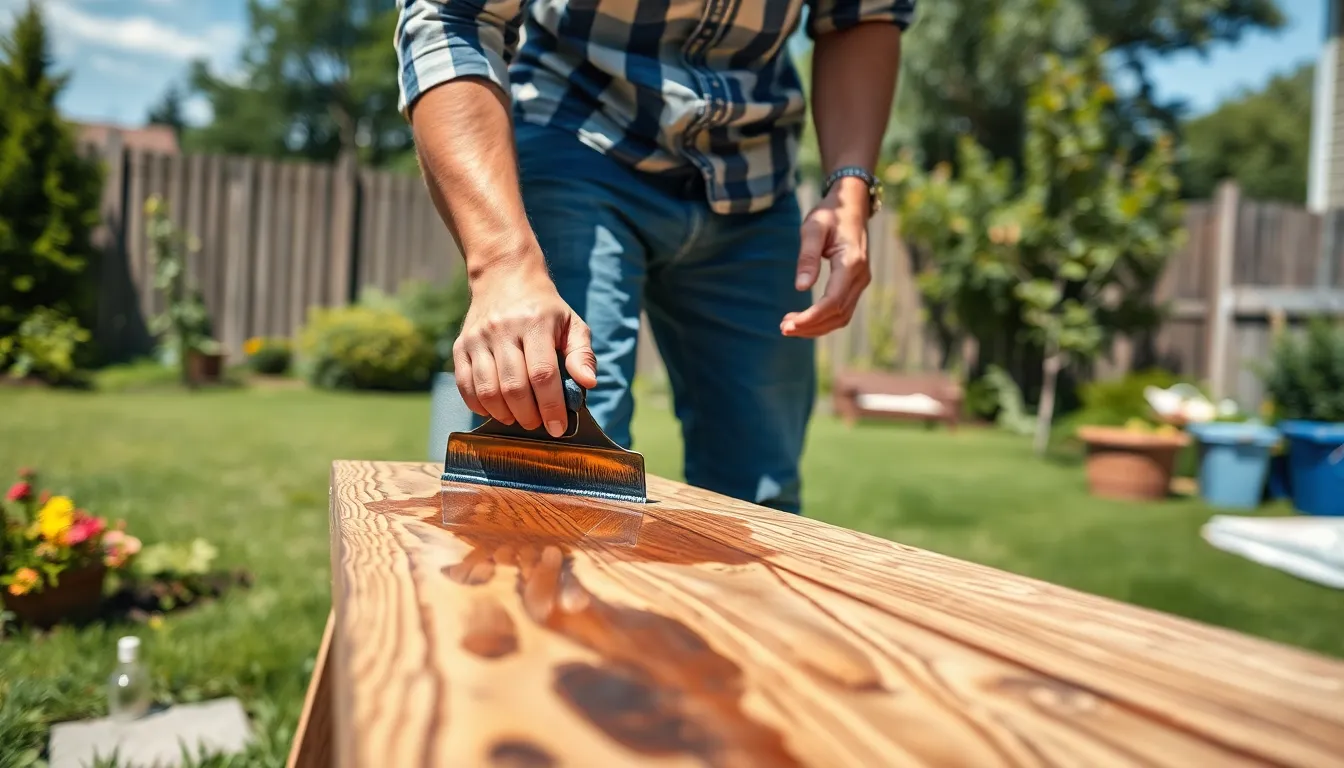
The application process significantly impacts your staining results. Start by cleaning the surface thoroughly to remove any mill glaze, which can prevent proper stain absorption. A quality deck cleaner helps prepare the wood for maximum stain penetration. Apply your chosen stain using a brush, roller, or sprayer, always working with the wood grain to ensure even coverage and a professional finish.
Thin coats are more effective than thick applications, as excessive stain often leads to pooling, uneven drying, and eventual peeling. Multiple thin layers provide better protection and a more uniform appearance than a single heavy coat. Temperature conditions matter significantly – apply stain when daytime temperatures range between 50-90°F and humidity levels are relatively low.
Allow the stain to cure completely for 24-48 hours before subjecting the wood to regular use or foot traffic. Most pressure-treated wood projects benefit from reapplication every 2-3 years to maintain optimal protection against sun damage and moisture infiltration. Weather conditions during application play a critical role in stain performance – avoid direct sunlight, which causes the stain to dry too quickly, and never apply stain when rain is expected within 24 hours.
For the best long-term results, confirm that your wood’s moisture content is below 15% before staining begins. This optimal moisture level ensures proper stain adhesion and reduces the likelihood of future issues like cracking or peeling.
Common Mistakes to Avoid When Staining Too Early
Staining pressure-treated wood too early creates important problems that can ruin your entire project. Many DIYers rush the process, leading to wasted time, money, and materials. Here are the critical mistakes to avoid:
Applying Stain Before Wood Is Dry
High moisture content prevents proper stain adhesion, resulting in peeling and flaking. Premature staining traps moisture inside the wood, potentially causing warping and decay over time. This common mistake occurs because many homeowners don’t realize that pressure-treated lumber contains up to 40% moisture when first installed.
Ignoring Weather Conditions
Rain forecasts within 24-48 hours of staining can completely disrupt the drying process. Humidity levels above 70% slow stain curing and may cause inconsistent finishes. Temperature extremes also impact results—staining in direct sunlight or temperatures below 50°F leads to uneven absorption and poor durability.
Skipping Proper Surface Preparation
Failing to clean the wood surface before staining results in dirt and debris becoming permanently sealed under the finish. Many homeowners overlook the importance of light sanding, which helps open wood pores for better stain penetration. Pressure washing without allowing adequate drying time afterward compounds moisture problems.
Using Incorrect Products
Oil-based stains typically perform better on pressure-treated wood than water-based alternatives. Products marketed as “stain and sealer in one” often don’t penetrate properly into damp pressure-treated wood. Using interior stains for outdoor projects leads to premature failure and requires frequent reapplication.
Relying on Time Instead of Testing
Waiting a standard period (like 60 days) without testing actual moisture content risks application failure. Environmental factors significantly impact drying times—wood in shaded, humid areas takes substantially longer to dry than sun-exposed sections. The sprinkle test provides a quick way to verify readiness: water should absorb within 10 minutes if the wood is ready for staining.
Conclusion
Properly staining your pressure-treated wood requires patience and attention to detail. We’ve shown why waiting the appropriate time—from 24 hours for KDAT lumber to 60+ days for standard treated wood—is crucial for lasting results.
Remember to test wood moisture content before staining and choose the right product for your exact project. Weather conditions matter too; aim for dry days with moderate temperatures for the best application results.
By following our guidelines and avoiding common pitfalls like premature staining, you’ll achieve a beautiful finish that not only enhances your wood’s appearance but also extends its lifespan by several years. The extra waiting time is a small investment that pays off with long-term protection for your outdoor structures.
Frequently Asked Questions
How long should I wait before staining pressure-treated wood?
The waiting period varies by treatment type. Standard pressure-treated lumber typically requires 60 days, while KDAT (kiln-dried after treatment) lumber can be stained within 24-72 hours. ACQ-treated wood needs 30-60 days, and MCA-treated products generally require 3-4 weeks in favorable conditions. Always test the wood’s moisture content before staining to ensure it’s below 15%.
Why can’t I stain pressure-treated wood immediately?
Newly pressure-treated wood contains up to 40% moisture from the treatment process. Staining before the wood dries properly (to 15-19% moisture content) will result in poor stain absorption, uneven coloration, and potential peeling or flaking. The chemicals and moisture need to evaporate first for the stain to adhere correctly.
How do I know when pressure-treated wood is dry enough to stain?
Perform the “sprinkle test” by dropping water on the wood—if it absorbs rather than beads up, it’s likely ready. For more accuracy, use a moisture meter to verify the content is below 15%. The wood should also appear drier and grayer than when new, and small cracks may appear on the surface.
What factors affect the drying time of pressure-treated wood?
Key factors include weather conditions (temperature, humidity, sunlight), airflow around the wood, the type of pressure treatment used (CCA, ACQ, MCA, KDAT), wood thickness, and installation location. Warm, sunny days with good air circulation accelerate drying, while rain and high humidity extend the waiting period.
What type of stain is best for pressure-treated wood?
Both oil-based and water-based stains work well for pressure-treated wood. Oil-based stains offer deeper penetration and longer-lasting protection (3-5 years) but have stronger odors and longer drying times. Water-based stains are more environmentally friendly with easier cleanup and faster drying, though they may require more frequent reapplication.
What happens if I stain pressure-treated wood too early?
Staining too early leads to numerous problems: the stain won’t penetrate properly, resulting in blotchy, uneven finishes; it may bubble, peel or flake off quickly; mold or mildew might develop under the stain; and you’ll waste time and money reapplying stain sooner than necessary. Patience yields far better long-term results.
How should I prepare pressure-treated wood for staining?
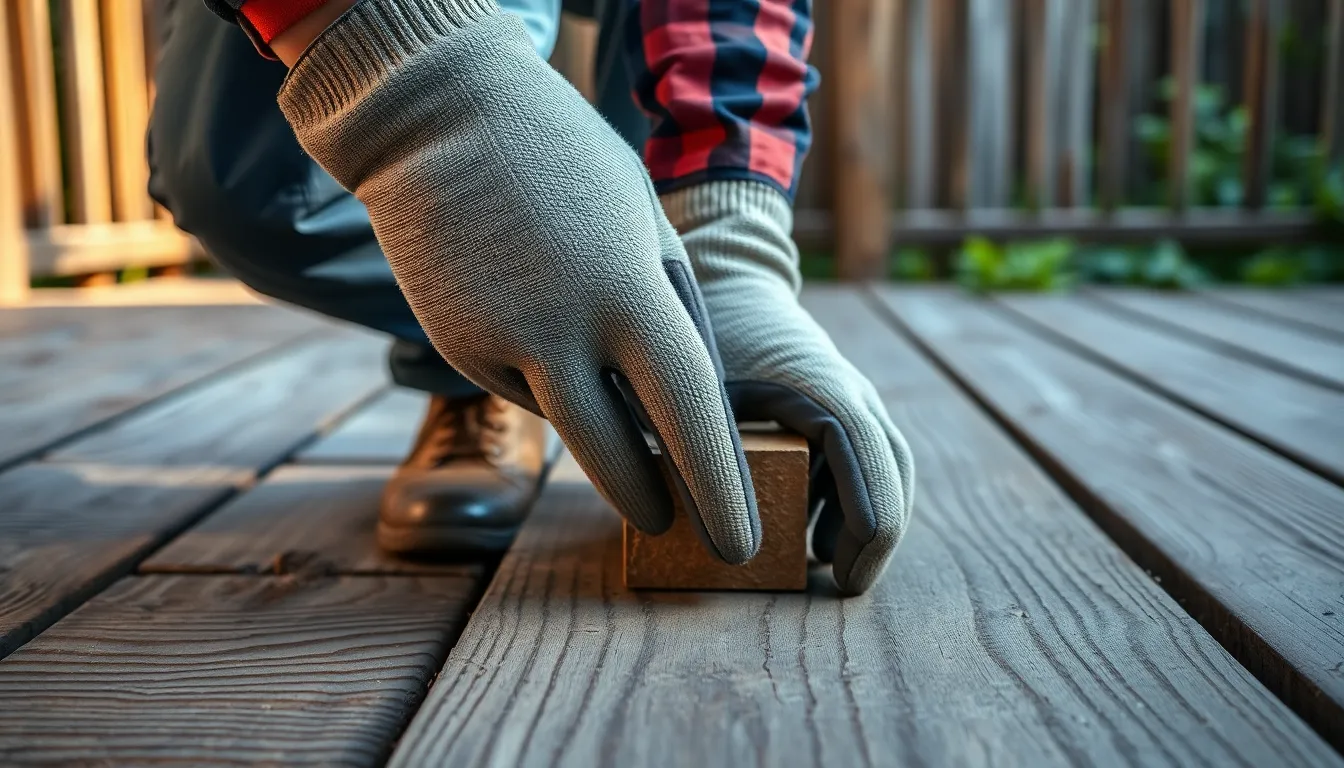
Clean the wood thoroughly using a deck cleaner to remove dirt, debris, and mill glaze. Allow it to dry completely. Sand the surface lightly with 80-100 grit sandpaper to improve stain absorption. Remove all sanding dust with a broom and damp cloth. Ensure the surface is completely dry before applying stain.
How often should I re-stain pressure-treated wood?
Typically, pressure-treated wood requires re-staining every 2-3 years, depending on sun exposure, foot traffic, and climate conditions. Signs it’s time to re-stain include water no longer beading on the surface, fading color, or gray areas appearing. Regular maintenance extends your wood’s lifespan and appearance.

