Working with pressure treated wood is essential for outdoor projects, but timing matters. We’ve all been there—eager to stain that new deck or assemble garden beds, only to wonder: “Just how long does this wood need to dry?”
The truth is, pressure treated lumber isn’t ready to use straight from the store. It’s infused with chemicals and moisture that need time to properly evaporate before painting, staining, or sealing. Using it too soon can lead to warping, paint failure, and shortened lifespan of your project. We’ll walk you through the drying timeline, factors that affect it, and how to tell when your lumber is ready for the next step.
Understanding Pressure Treated Wood
Pressure treated wood undergoes a specialized manufacturing process where preservative chemicals are forced deep into the wood fibers under high pressure. This treatment protects the lumber from rot, fungal decay, and insect damage, significantly extending its lifespan compared to untreated wood. The chemicals commonly used include copper azole (CA), alkaline copper quaternary (ACQ), and micronized copper quaternary (MCQ).
During the pressure treatment process, lumber gets saturated with both the chemical preservatives and water, resulting in wood that’s typically 75% heavier than its dry weight. Each piece of treated lumber contains gallons of moisture that must evaporate before the wood reaches equilibrium with its environment. The high moisture content directly affects how the wood behaves during installation and finishing.
Different pressure treatment levels exist for various applications:
- Above-ground use: Treated with lighter chemical concentrations for projects like deck railings or fence boards
- Ground-contact: Contains higher preservative levels for applications touching soil such as fence posts
- Marine-grade: Features the highest chemical concentration for wood that will be submerged in water
Understanding these treatment categories helps determine the appropriate drying time for your exact project materials. Marine-grade and ground-contact pressure treated wood typically require longer drying periods due to their higher preservative and moisture content.
The appearance of fresh pressure treated lumber ranges from green to brown depending on the chemical formulation used. Copper-based treatments often give the wood a greenish tint that weathers to a natural gray over time if left unstained. This color change provides one visual indicator of the drying process as moisture evaporates from the wood.
The Drying Process Explained
Pressure treated wood undergoes a complex drying journey after treatment before it’s ready for finishing or construction projects. Understanding this process helps prevent common issues like warping, cracking, and paint failure.
What Makes Pressure Treated Wood Wet
The pressure treatment process itself is the primary reason this lumber arrives wet at your local supplier. During manufacturing, wood is placed in large treatment tanks where preservative chemicals are forced deep into the fibers under high pressure (typically 160-200 psi). These water-based preservatives, such as alkaline copper quaternary, thoroughly saturate the wood, leaving it moisture-laden when the process completes. Storage methods at lumberyards and home improvement stores often compound this issue, as tightly stacked lumber without proper airflow prevents natural evaporation. The thickness of the wood and local humidity levels further slow the drying process, with thicker boards taking significantly longer to reach an appropriate moisture content.
Chemical Treatment Methods and Drying Time
Different chemical treatments impact how long pressure treated wood takes to dry:
- Water-Based Preservatives: Standard pressure treated lumber typically requires 2-4 weeks of drying time after installation before painting or staining. Complete drying may take months depending on environmental conditions and board thickness. This extended timeline occurs because the treatment introduces substantial moisture that must evaporate naturally.
- Kiln-Dried After Treatment (KDAT): This premium option addresses moisture concerns by reducing the wood’s water content at the manufacturing facility. KDAT lumber allows immediate finishing after purchase, saving important project time. Though more expensive, many contractors prefer this option for time-sensitive projects or when minimal warping is critical.
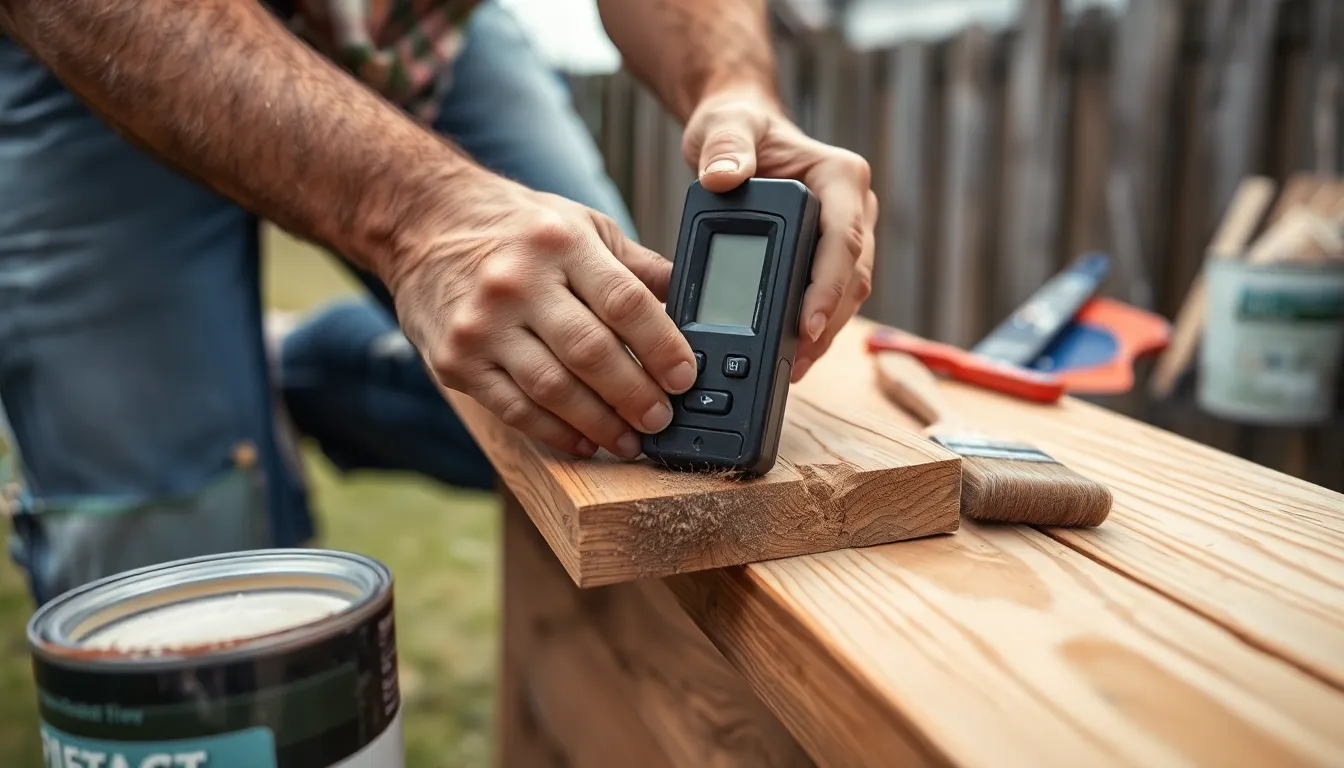
- Moisture Testing: A simple sprinkle test helps determine if wood is ready for finishing—droplets that absorb quickly indicate sufficient drying, while beading water suggests more drying time is needed. For critical applications, moisture meters provide more precise measurements, with readings below 19% moisture content generally considered appropriate for finishing.
Climate plays a crucial role in determining actual drying times. Wood dries much faster in Arizona’s dry heat compared to Florida’s humidity. Board dimensions significantly affect drying rates, with 6×6 posts potentially taking months longer than 5/4 decking boards. Proper spacing during installation enhances airflow around each piece, speeding drying while reducing the risk of warping and cupping as moisture releases.
Average Drying Times for Pressure Treated Wood
Pressure treated wood typically takes between several weeks to months to fully dry depending on multiple conditions. The drying timeline varies significantly based on environmental factors and the exact type of treatment used.
Factors That Affect Drying Time
The drying process of pressure treated lumber is influenced by many environmental and physical variables. Sun exposure plays a crucial role, with direct sunlight significantly accelerating moisture evaporation from treated boards. Weather conditions impact drying rates dramatically – warm, dry climates help much faster drying compared to cool, humid environments where moisture lingers longer. Airflow around stacked lumber creates essential ventilation that prevents moisture from becoming trapped between boards. Wood thickness directly correlates with drying time; thicker dimensional lumber (such as 4×4 posts) requires substantially more time to dry than thinner boards like decking planks. Treatment timing also matters – recently processed lumber contains more moisture and so requires extended drying periods before it’s ready for finishing applications.
Typical Timeframes for Different Wood Types
Kiln-dried after treatment (KDAT) lumber offers immediate readiness for painting or staining since the industrial drying process has already removed excess moisture. Standard pressure treated wood generally requires 2-4 weeks of drying time before it’s suitable for applying finishes like paint or stain. Heavily saturated lumber, particularly thicker cuts or wood treated for ground contact applications, might need several months to reach an appropriate moisture level in less than ideal conditions. Environmental variations create important differences in these timeframes – lumber drying in Arizona’s desert climate will reach proper moisture content much faster than identical boards in Florida’s humid conditions. Testing wood’s readiness with moisture meters provides the most reliable indication that optimal drying has occurred, regardless of how long the wood has been sitting.
How to Tell if Pressure Treated Wood is Dry
Determining if pressure treated wood has dried sufficiently is crucial before proceeding with painting, staining, or construction. Several reliable methods can help you assess whether your lumber has reached the optimal moisture level for your project.
Visual and Touch Indicators
Visual inspection and tactile assessment provide quick ways to evaluate wood dryness without special equipment. The water test serves as one of the most straightforward methods – simply place a few drops of water on the wood’s surface and observe the reaction. Water beading up indicates the wood remains too wet for finishing, while absorption suggests the wood has dried adequately. Fresh pressure treated lumber typically feels heavier and sometimes has a damp appearance, whereas dried lumber feels lighter and may appear slightly faded or weathered. Surface texture changes are also noticeable – wood transitions from feeling slick or clammy to a more natural, textured surface as it dries completely.
Moisture Meter Testing
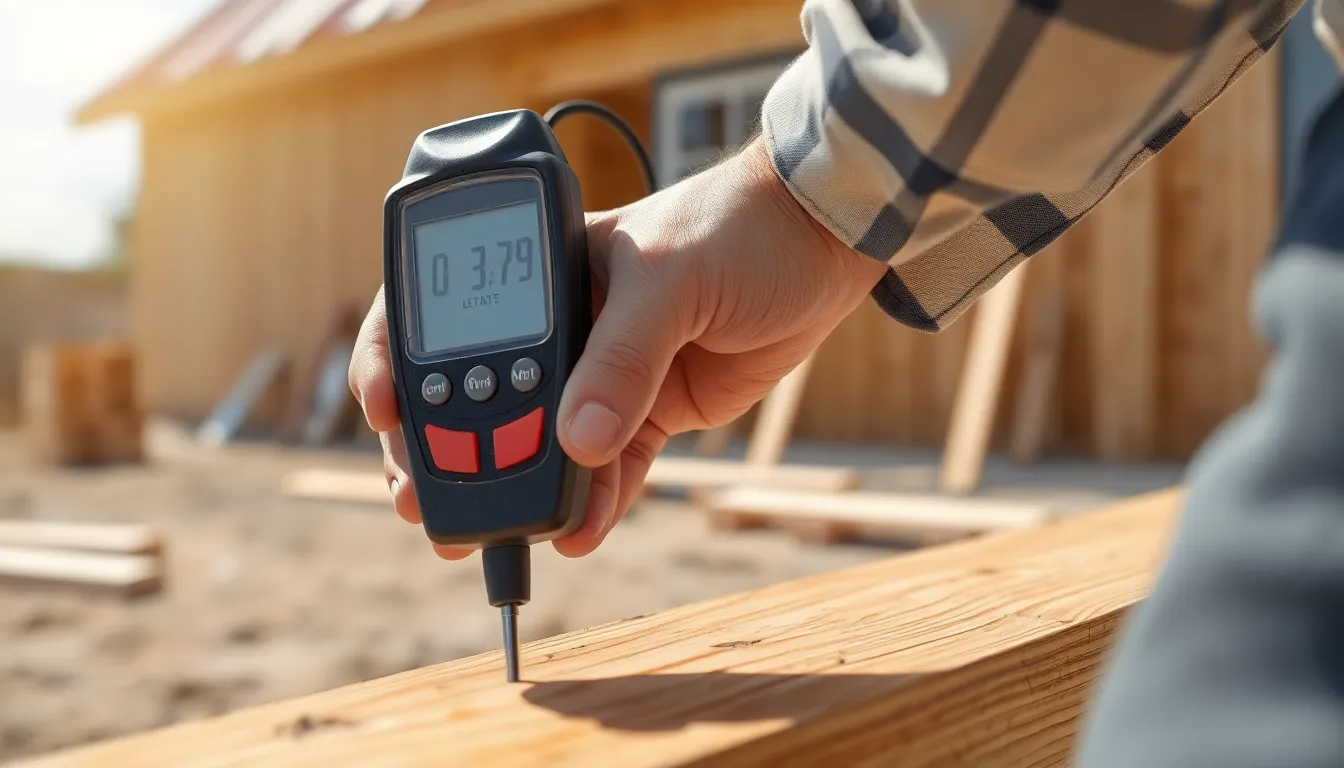
Moisture meters offer precise measurements to determine if pressure treated wood has reached the optimal dryness level. These devices provide objective readings of the wood’s internal moisture content, eliminating guesswork from the drying assessment process. Professional-grade pin-type meters penetrate the wood’s surface to measure internal moisture, while pinless models use electromagnetic sensors to evaluate moisture without damaging the wood. For most exterior applications, pressure treated wood should have a moisture content below 19% before painting or staining. Interior applications may require even lower readings, typically between 12-15%. Taking multiple measurements across different areas of each board ensures uniform drying throughout the piece, particularly for thicker dimensional lumber where moisture may remain trapped in the center while the surface appears dry.
Digital tools like moisture meters create the most reliable method for determining wood readiness, especially for critical structural projects where moisture-related failures could cause important problems. Proper storage with spacers between boards improves air circulation and promotes even drying, preventing potential warping or twisting during the drying process.
Tips to Speed Up the Drying Process
Accelerating the drying time of pressure-treated wood requires careful attention to storage and environmental factors. These practical techniques can help you reduce waiting times while ensuring the wood dries properly.
Proper Storage Techniques
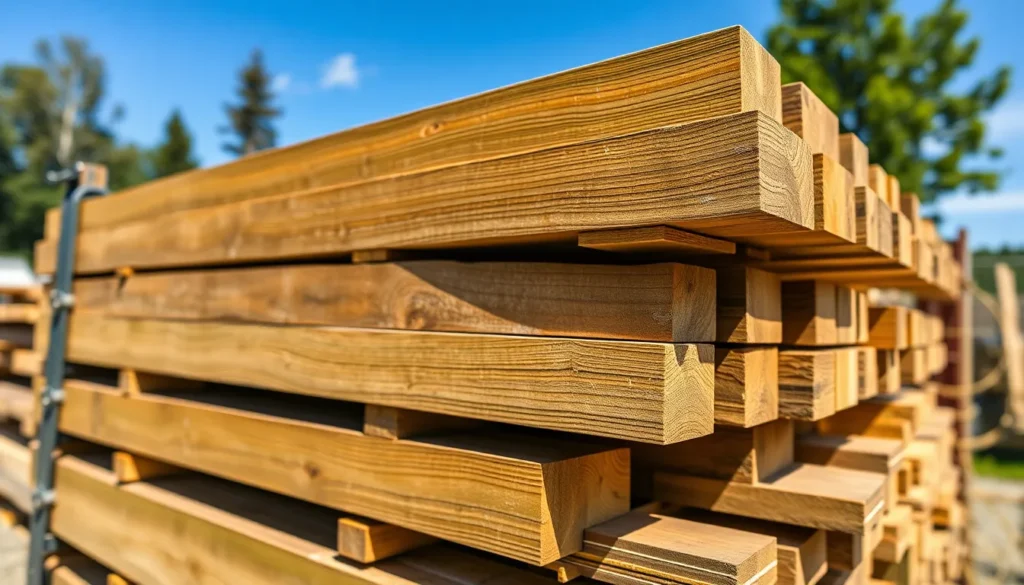
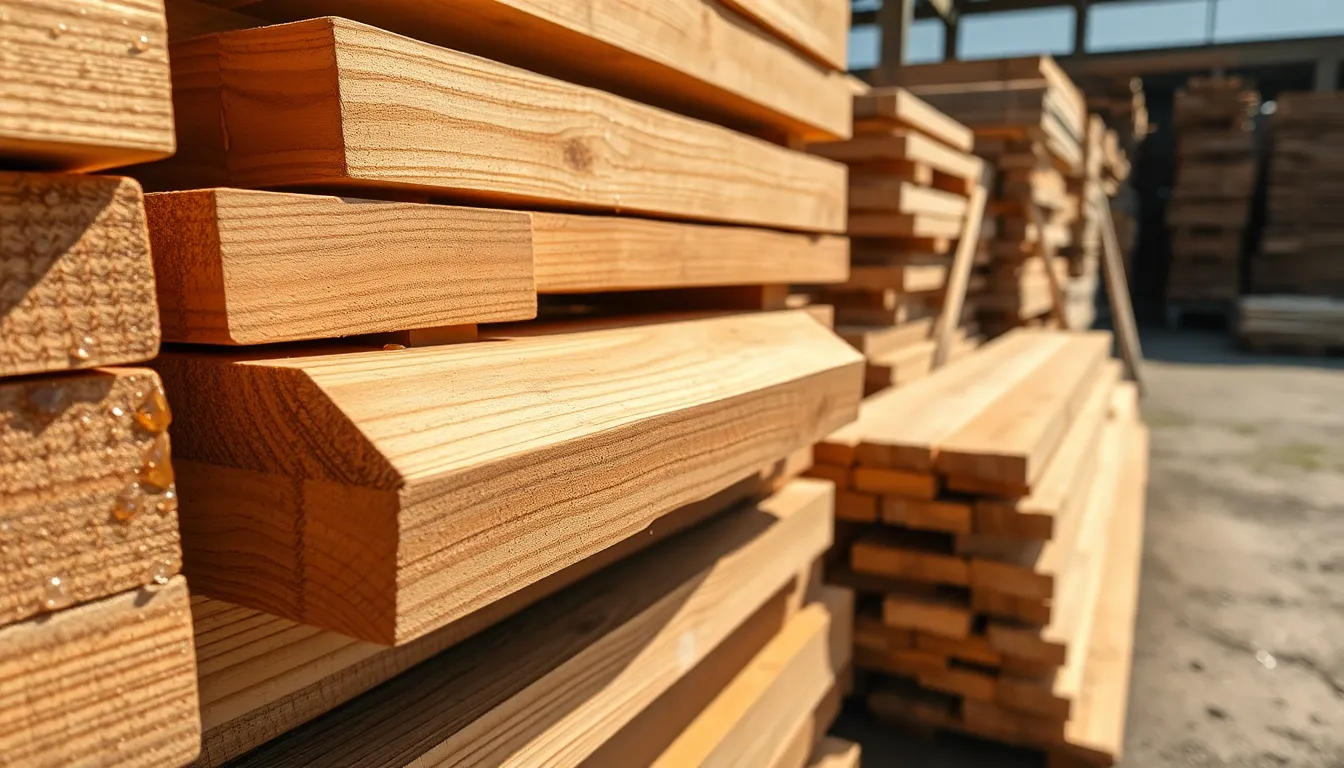
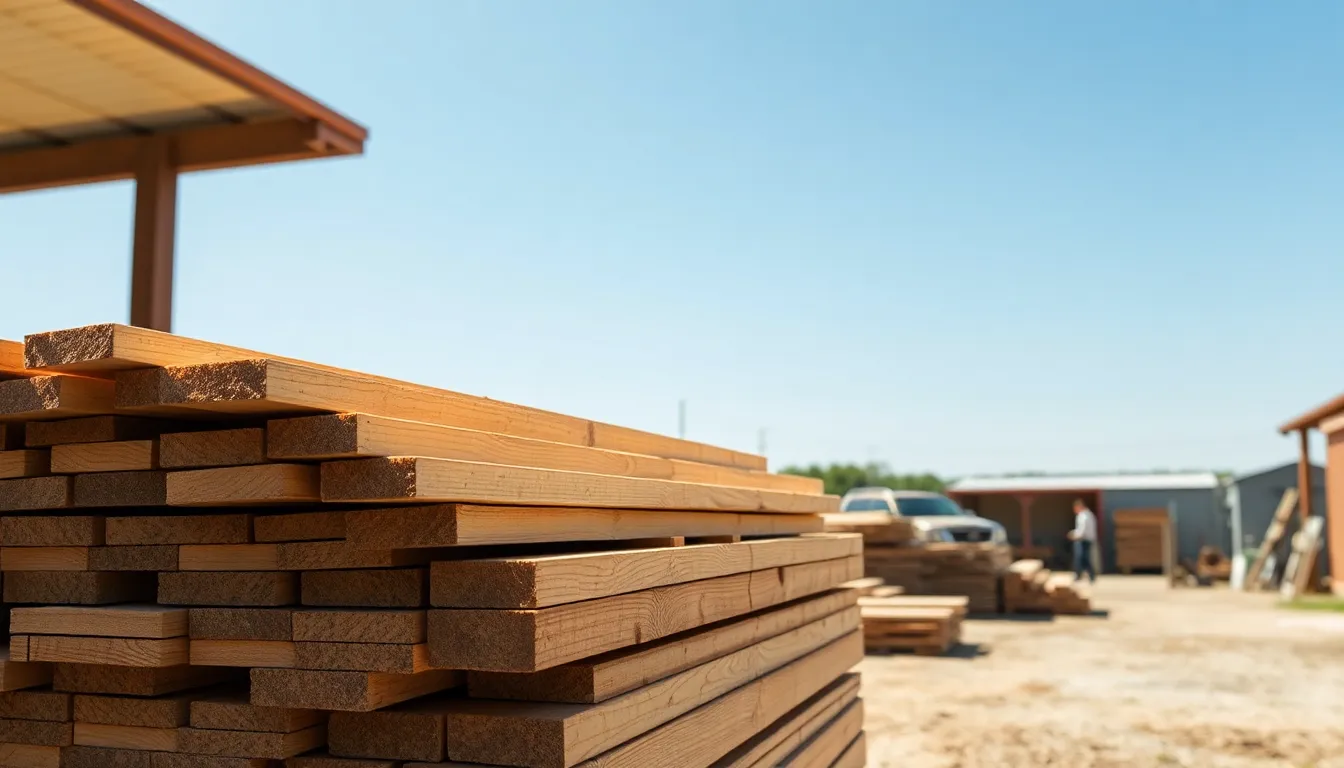
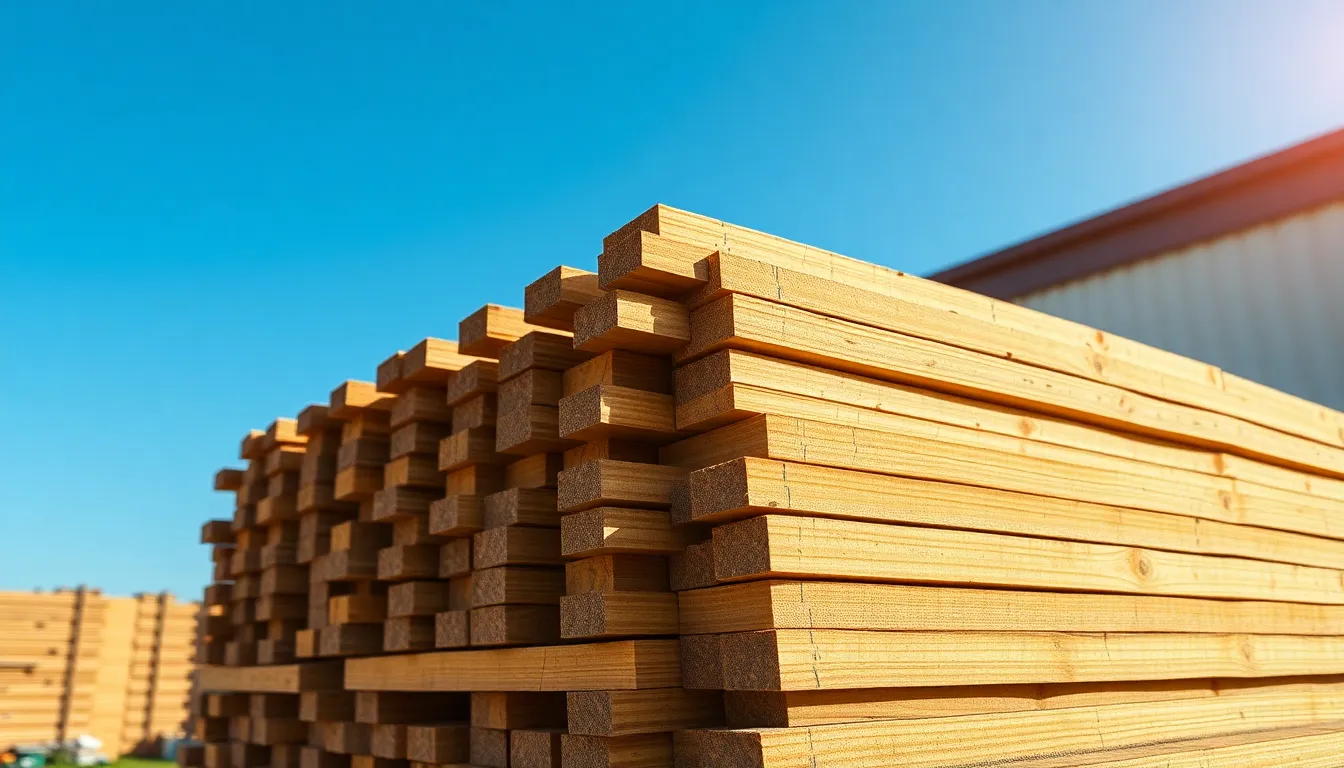
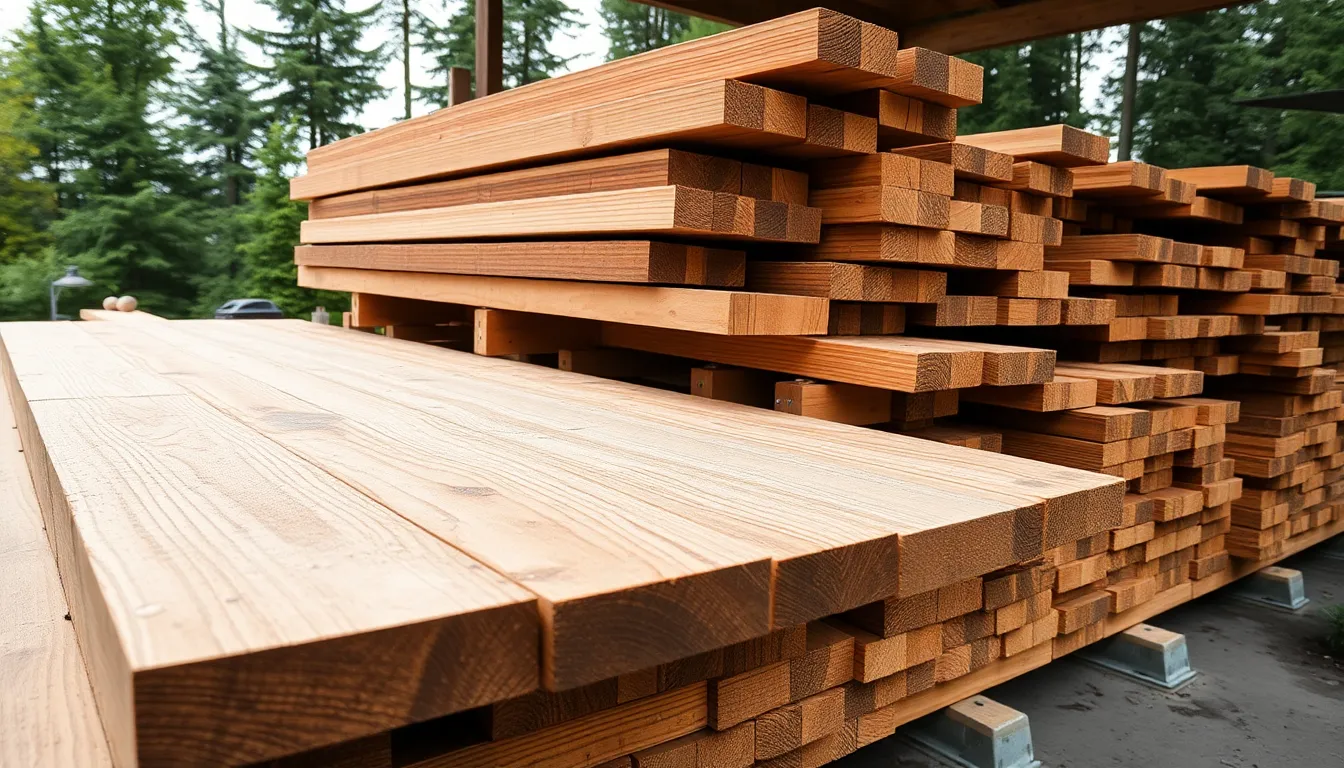
Proper storage significantly impacts how quickly pressure-treated lumber dries. Stack boards flat on level surfaces with spacers between each layer to promote maximum air circulation around all sides of the wood. These spacers, sometimes called “stickers,” create gaps that allow moisture to escape more efficiently. Keep the wood elevated off the ground to prevent additional moisture absorption, which can dramatically extend drying times. While protecting the lumber from rain is essential, allowing some sunlight exposure can help natural drying. Avoid stacking boards directly against each other, as this traps moisture and creates ideal conditions for mold growth or uneven drying patterns.
Environmental Controls
Environmental factors play a crucial role in drying pressure-treated wood effectively. Warm, dry weather conditions accelerate moisture evaporation, making summer months ideal for installation and drying projects. Maximize airflow around stored lumber using fans or strategic placement in well-ventilated, open-air locations. Avoid storing pressure-treated wood in enclosed spaces like garages or sheds unless you’re using dehumidifiers to reduce ambient moisture levels. Using a moisture meter provides the most reliable way to verify when your wood has reached appropriate dryness—typically below 19% moisture content for exterior applications. Resist the temptation to force-dry lumber through artificial heating, as this often leads to warping and structural damage. Instead, allow natural air circulation to remove moisture gradually from the wood fibers.
Working With Wet Pressure Treated Wood
Wet pressure-treated wood requires proper handling to ensure optimal drying and prevent future problems. Storing this lumber correctly after purchase or during construction is essential for maintaining its structural integrity and appearance.
Potential Problems and Concerns
Improper handling of wet pressure-treated lumber leads to several important issues. Warping and shrinkage occur frequently when wood dries too rapidly or unevenly, with 2×6 lumber potentially shrinking up to 1/4 inch if inadequately dried. Moisture retention presents another challenge, as treatment processes leave wood waterlogged, necessitating thorough air drying before applying any finishes. Paint adhesion issues emerge when coatings are applied prematurely to damp wood, resulting in peeling or bubbling. To verify dryness, we recommend conducting a simple water test – if water droplets absorb into the wood rather than beading on the surface, it’s ready for finishing.
When You Can’t Wait for Complete Drying
Emergency situations sometimes necessitate working with wood that hasn’t fully dried. Water-based acrylic products offer the best option for temporary protection when circumstances don’t allow for complete drying. These products show greater tolerance for residual moisture compared to oil-based alternatives. Using accelerated drying methods like fans or forced heat isn’t recommended, as uneven drying significantly increases warping risks. The proper approach involves storing lumber flat with spacers between each board to promote airflow throughout the stack. This storage method minimizes warping potential while maximizing natural air circulation to speed up the drying process as safely as possible.
Painting and Staining Considerations
Applying finishes to pressure-treated wood requires proper preparation to ensure long-lasting results. Before reaching for your paintbrush or stain applicator, you’ll need to confirm the wood has dried completely for optimal adhesion and finish quality.
Optimal Timing After Drying
Patience pays off when working with pressure-treated lumber. Wait until the wood has dried thoroughly before applying any paint or stain to achieve better adhesion and a more professional finish. A moisture meter reading below 19% indicates the wood is ready for finishing treatments. Rushing this process often leads to poor paint adhesion, premature peeling, and wasted materials. Testing the wood’s readiness is simple—sprinkle water on the surface and observe: if it absorbs into the wood rather than beading up, your lumber is sufficiently dry for finishing.
Recommended Products for Treated Wood
Choosing the right products specifically designed for pressure-treated wood ensures compatibility and maximizes durability. Exterior-grade paints and stains with waterproofing properties offer the best protection against moisture and UV damage. Water-based acrylic products provide excellent adhesion to treated lumber while allowing the wood to continue breathing. Oil-based stains penetrate deeply into the wood grain, improving both protection and appearance. For best results, select products that explicitly state they’re formulated for pressure-treated wood on their labels. These specialized products contain additives that accommodate the chemical preservatives already present in the wood.
Conclusion
Patience is truly the key when working with pressure treated wood. Understanding the drying process ensures your outdoor projects will stand the test of time. We’ve seen how drying times can vary from a few weeks to several months depending on climate conditions board thickness and treatment type.
Remember to use moisture meters for the most accurate assessment of your lumber’s readiness. The ideal moisture content should be below 19% for exterior projects and between 12-15% for interior applications. Proper storage with adequate spacing between boards will significantly improve drying time and prevent warping.
Don’t rush the process. Taking time to let your pressure treated wood dry properly now will save you from costly repairs and refinishing later. Your finished project will be more stable durable and visually appealing when built with properly dried lumber.
Frequently Asked Questions
How long does pressure treated wood need to dry before staining?
Pressure treated wood typically needs 2-4 weeks to dry before staining or painting when using standard water-based preservatives. However, kiln-dried after treatment (KDAT) lumber can be finished immediately. Thicker boards and humid conditions may extend drying time to several months. Always use a moisture meter to confirm the wood has reached below 19% moisture content before applying any finishes.
How can I tell if pressure treated wood is dry enough to use?
You can determine if pressure treated wood is dry using several methods. Try the water test – sprinkle water on the surface; if it beads up, the wood is still wet, but if it absorbs, it’s likely dry. A moisture meter provides more precise results – aim for readings below 19% for exterior projects. Visual cues include color change from green to gray-brown and reduced weight compared to when purchased.
Will pressure treated wood warp if it dries too quickly?
Yes, pressure treated wood can warp if dried too quickly. Rapid drying causes uneven moisture loss, creating internal stress that leads to warping, twisting, and cracking. Avoid using heaters, hairdryers, or placing the wood in direct sunlight to speed drying. Instead, store the wood flat with spacers between boards in a well-ventilated area to ensure even, gradual drying.
Can I paint pressure treated wood immediately after purchase?
No, you shouldn’t paint pressure treated wood immediately after purchase. Fresh pressure treated lumber contains excess moisture and chemicals that prevent proper paint adhesion. Wait until the wood dries completely (typically 2-4 weeks) and achieves a moisture content below 19%. Painting too soon will result in peeling, bubbling, and paint failure, requiring costly and time-consuming refinishing.
Does pressure treated wood need to dry before building with it?
While you can build with damp pressure treated wood, allowing it to dry first is strongly recommended. Building with wet wood can lead to shrinkage, warping, and loosening of fasteners as it dries. For structural integrity, it’s best to let the wood reach equilibrium moisture content (typically 2-4 weeks) before construction. If immediate building is necessary, use proper spacing to accommodate future shrinkage.
What happens if I stain pressure treated wood too soon?
Staining pressure treated wood too soon leads to several problems. The stain won’t penetrate properly into moisture-laden wood, resulting in uneven coverage, blotchiness, and premature peeling. Trapped moisture under the stain can cause bubbling and promote mildew growth. The stain will likely fail within months, wasting time and money. Always ensure the wood is dry (moisture content below 19%) before staining.
How do weather conditions affect pressure treated wood drying time?
Weather significantly impacts drying time. Warm, sunny, low-humidity days accelerate drying, potentially reducing it to 2-3 weeks. Conversely, cold, rainy, or humid conditions can extend drying to several months. Wind increases drying rates by improving evaporation. Regional climate matters too – wood dries faster in Arizona than in Florida. Seasonal variations also play a role, with summer offering faster drying than winter.
Is kiln-dried pressure treated wood ready to use immediately?
Yes, kiln-dried after treatment (KDAT) pressure treated wood is ready to use immediately for construction, staining, or painting. This premium product undergoes a controlled drying process after chemical treatment, reducing moisture content to around 15-19%. While more expensive, KDAT lumber eliminates waiting time, experiences less shrinkage and warping, and allows for immediate finishing. Look for the KDAT stamp when purchasing.

