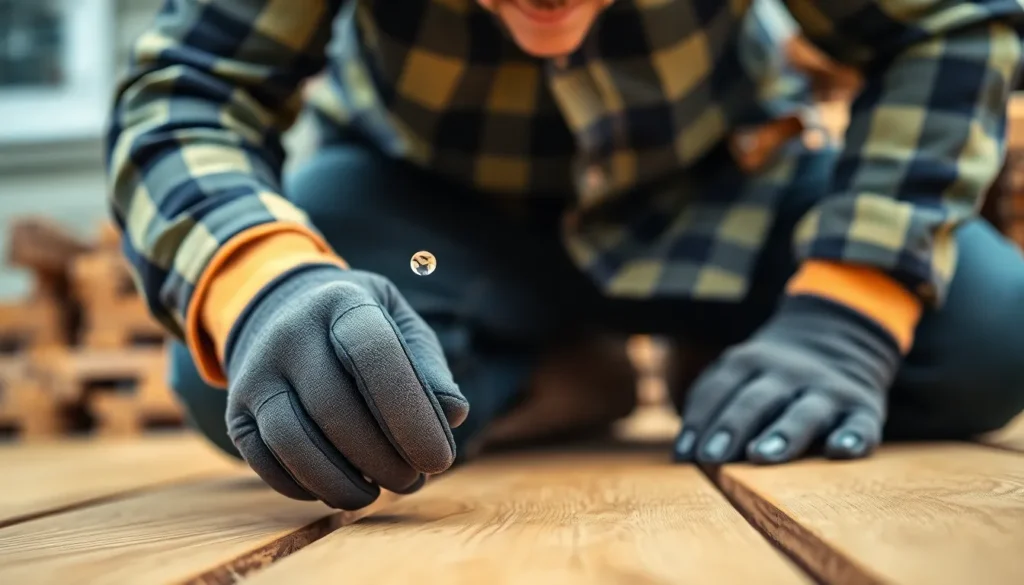
Wondering how long to wait before painting that newly installed treated wood? You’re not alone. This common question plagues many DIY enthusiasts and homeowners looking to protect and beautify their outdoor projects.
We’ve all been there—eager to complete our deck, fence, or outdoor furniture project with a perfect coat of paint, only to learn that timing is everything when it comes to treated lumber. The waiting game can be frustrating, but rushing to paint too soon can lead to peeling, bubbling, and wasted effort. In this guide, we’ll reveal exactly how long you should wait and why patience pays off when painting pressure-treated wood.
Understanding Treated Wood and Paint Compatibility
Treated wood and paint have a complex relationship that requires proper understanding for successful project outcomes. Knowing the exact treatment method used on your lumber and selecting compatible paint products significantly impacts the longevity and appearance of your painted surfaces.
Types of Wood Treatment and Their Impact on Painting
Pressure-treated lumber undergoes different chemical processes that affect paint adhesion and drying times. CCA (Chromated Copper Arsenate) treated wood contains chemicals that repel water and require extended drying periods of 3-4 months before painting. ACQ (Alkaline Copper Quaternary) treatment, a more environmentally friendly option, typically needs 60 days of drying time due to its high moisture content after processing. ACZA (Ammoniacal Copper Zinc Arsenate) treated lumber, commonly used for heavy-duty applications, demands at least 45 days before accepting paint properly. Borate-treated wood, used primarily for indoor applications, can often be painted after just 2-3 weeks since it doesn’t contain the heavy waterproofing agents found in outdoor varieties.
Why Waiting Before Painting Matters
Painting treated wood too soon leads to many problems that compromise both appearance and durability. Fresh pressure-treated lumber contains up to 40% moisture content, which must drop to below 15% for proper paint adhesion. Ignoring this moisture requirement results in paint blistering, bubbling, and eventual peeling as the trapped moisture tries to escape. Wood preservatives need time to stabilize within the lumber, and premature painting prevents this chemical settling process. Early application also wastes expensive paint products as they’ll likely need reapplication within 6-12 months rather than lasting 5-7 years with proper preparation. The structural integrity of the wood itself benefits from a proper drying period, as it allows the material to reach dimensional stability and reduces the risk of warping after painting.
Proper Drying Time for Different Treated Woods

Pressure-treated lumber requires exact drying periods before painting to ensure optimal results. Different types of treated woods have varying drying requirements based on their treatment methods and environmental conditions.
Pressure-Treated Lumber Wait Times
Standard pressure-treated lumber needs 3-4 months to dry adequately before painting under typical conditions. Kiln-dried pressure-treated options offer immediate painting capability, eliminating the waiting period entirely. Drying times vary significantly depending on your local climate, the thickness of the wood pieces, available airflow, and storage conditions. You can easily test wood readiness using a simple water absorption test – when water droplets soak into the wood rather than beading on the surface, it’s sufficiently dry for painting. Staggered stacking with spacers between boards improves air circulation, potentially reducing drying time to just weeks in warm, dry environments.
Chemical-Treated Wood Considerations
Modern pressure-treated lumber contains waterborne preservatives such as ACQ (Alkaline Copper Quaternary) or copper azole that leave residual moisture after treatment. Painting these woods before proper drying traps moisture beneath the paint surface, leading to peeling and adhesion failures. A primer specifically formulated for pressure-treated wood creates the best foundation for your paint job. Older CCA-treated wood requires similar drying periods but presents additional handling concerns due to its arsenic content – avoid sanding unpainted surfaces of this type of treated lumber. Some professionals recommend extended weathering periods of 6-8 months for optimal results, particularly when working with thicker planks or in consistently humid climates.
Signs That Treated Wood Is Ready for Paint

Determining if treated wood is ready for paint requires checking exact indicators that show the lumber has properly dried. Professional painters rely on both scientific testing methods and simple observational techniques to assess wood readiness before applying primer and paint.
Moisture Tests for Treated Wood
The water drop test offers a reliable way to check if treated lumber has dried sufficiently for painting. Place several water droplets on the wood surface and observe their behavior – drops that quickly absorb into the wood indicate it’s dry enough to accept paint, while beading water suggests the wood remains too saturated with preservatives or moisture. Professional moisture meters provide more precise measurements, with readings below 15% generally indicating painting readiness. These digital tools offer accurate measurements across different parts of your lumber, helping identify any areas that might need additional drying time.
Visual and Touch Indicators
Physical inspection reveals several clues about treated wood’s readiness for paint application. Properly dried pressure-treated lumber feels noticeably lighter than freshly treated pieces and lacks the damp sensation when touched. The characteristic greenish tint of newly treated wood typically fades to a more natural light brown or gray as it dries completely. Surface cracks or checks that appear during the drying process actually indicate moisture loss, suggesting the wood is approaching painting readiness. Running your hand across the grain should reveal a smooth, dry texture without any tacky residue from the treatment chemicals. These tactile and visual signs, combined with moisture testing, create a comprehensive assessment of when your treated wood project is truly ready for painting.

Factors Affecting Drying Time

The drying period for pressure-treated wood before painting varies significantly based on several key factors. Understanding these variables helps predict how long your exact project might need before it’s ready for paint application.
Environmental Conditions
Environmental factors play a crucial role in determining how quickly treated lumber dries. Temperature directly impacts moisture evaporation rates, with warmer conditions accelerating the drying process substantially. Humidity levels in your area create another important variable – low humidity environments promote faster drying while high humidity regions can extend the waiting period by weeks or even months. Rain exposure during the drying phase is particularly problematic, as treated wood that gets wet repeatedly may never reach the optimal moisture content for painting. For optimal results, store your treated lumber in a covered, well-ventilated area protected from precipitation but allowing good air circulation.
Wood Species and Thickness
The physical characteristics of your treated lumber dramatically influence drying timeframes. Thickness stands as perhaps the most important factor – 4×4 posts and other thick pieces retain internal moisture much longer than thinner boards like decking planks. Dense wood species such as southern yellow pine (commonly used for pressure treatment) dry more slowly than lighter, more porous alternatives. Testing wood dryness before painting provides the most reliable indication of readiness – simply apply a few water droplets to the surface and observe the results. Quick absorption signals the wood is ready for paint application, while beading or pooling indicates excess moisture remains. Stickering your lumber (storing with small spacers between pieces) improves airflow to all surfaces, potentially reducing overall drying time by allowing consistent evaporation from all sides.
Preparation Steps Before Painting Treated Wood

Proper preparation creates the foundation for a successful paint job on treated lumber. Following these essential steps ensures your paint adheres properly and lasts for years to come.
Cleaning and Sanding Requirements
Thoroughly cleaning treated wood removes surface contaminants that can interfere with paint adhesion. Start by washing the surface with a mild detergent solution to eliminate dirt, dust, and any mill glaze that might be present. Allow the wood to dry completely after cleaning—typically 24-48 hours depending on humidity levels.
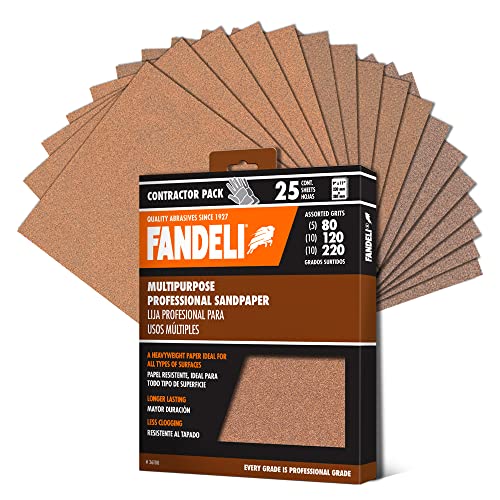
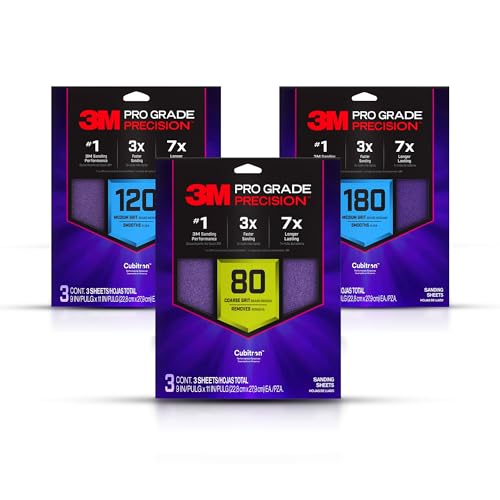
Sanding creates an ideal surface texture for paint to grip onto. Use medium-grit sandpaper (120-150 grit) to lightly sand the entire surface, working in the direction of the wood grain to avoid scratches. This process removes any remaining mill glaze, splinters, and rough patches while opening the wood pores for better primer penetration. After sanding, remove all dust with a clean cloth or brush before moving to the priming stage.
Primers for Treated Wood
High-quality exterior primers designed specifically for pressure-treated wood are essential for long-lasting results. These specialized primers seal the wood fibers and provide a uniform base for topcoat application. Look for water-based acrylic latex primers that can handle the unique chemical composition of pressure-treated lumber.
Applying primer requires attention to detail and proper technique. Use a high-quality brush or roller to apply a thin, even coat across the entire surface. Pay special attention to end grains, joints, and any areas where water might collect. The primer needs to dry completely according to the manufacturer’s instructions—typically 24 hours—before applying paint. For maximum protection, some treated wood benefits from two coats of primer, especially in humid environments or on wood with high resin content.

Best Paint Options for Treated Wood

Selecting the right paint for treated wood significantly impacts the longevity and appearance of your project. High-quality exterior latex paint offers superior performance on pressure-treated surfaces due to its flexibility, moisture resistance, and excellent adhesion to chemically treated lumber.
Exterior vs. Interior Applications
Exterior applications require specialized paint formulations that can withstand harsh environmental conditions. Latex paint specifically formulated for outdoor use provides the necessary protection against UV exposure, temperature fluctuations, and moisture that exterior treated wood faces daily. These paints maintain their appearance longer while allowing the wood to breathe properly, preventing moisture buildup beneath the surface.
Interior treated wood applications are less common due to the intensity of chemical treatments typically used in pressure-treated lumber. When painting treated wood indoors, low-VOC latex paints offer the best combination of durability and safety. These formulations release fewer harmful chemicals into your living space while maintaining good adhesion to the treated wood surface.
Oil-Based vs. Water-Based Formulations
Water-based (latex) paints emerge as the clear winner for pressure-treated wood applications. These formulations allow moisture to escape from the wood fibers, significantly reducing the risk of blistering and peeling that occurs when trapped moisture pushes paint away from the surface. Latex paints adhere exceptionally well to preservative-treated surfaces and maintain their flexibility over time, accommodating the natural expansion and contraction of wood.
Oil-based paints aren’t recommended for pressure-treated lumber even though their traditional popularity for wood applications. These formulations create a seal that traps moisture inside the wood, eventually leading to paint failure as the moisture forces its way out. Also, oil-based products often have compatibility issues with the chemicals used in modern wood treatments, resulting in adhesion problems and premature peeling.
Proper surface preparation remains essential regardless of which paint type you choose. Cleaning the wood thoroughly, sanding to create a receptive surface, and applying an exterior-grade primer designed specifically for pressure-treated wood creates the foundation for a lasting paint job. The primer should dry completely (at least 24 hours) before applying your chosen paint for optimal results.


Common Mistakes When Painting Treated Wood Too Soon

Painting treated wood before it’s properly dried leads to several serious problems that compromise both appearance and longevity. These issues often necessitate costly repairs and completely redoing the paint job, wasting both time and money.
Adhesion Problems
Poor paint adhesion occurs when painting treated lumber that still contains excess moisture and chemical preservatives. Water droplets that bead rather than absorb into the wood surface indicate it’s not ready for painting. The residual chemicals in recently treated wood actively prevent paint from bonding properly to the surface, resulting in immediate peeling and flaking. This inadequate bond creates a weak foundation for your paint job, leading to sections of paint lifting away from the wood within weeks or months after application.
Long-Term Durability Issues
Trapped moisture beneath paint causes important long-term durability problems in treated wood. When moisture can’t escape through sealed surfaces, it forces paint layers to separate from the wood through blistering and bubbling. The confined moisture inside the wood structure leads to warping, splitting, and rotting even though the protective treatment. Many homeowners discover these issues only after several months, requiring complete stripping of failed paint and starting the process over. Exterior painted surfaces facing harsh weather conditions deteriorate even faster when the wood wasn’t properly dried, with premature paint failure occurring within a single season instead of lasting 5-7 years.
Conclusion
Waiting to paint treated wood isn’t just a recommendation—it’s essential for lasting results. Remember that patience pays off with a beautiful finish that stands the test of time.
Most pressure-treated lumber needs 3-4 months to dry properly while kiln-dried options can be painted immediately. Testing wood readiness through water drop tests or moisture meters ensures you’re painting at the right time.
Proper preparation including cleaning sanding and priming creates the foundation for success. Choose high-quality exterior latex paints for best results and avoid common pitfalls like painting too soon.
By following these guidelines we’ve shared you’ll achieve a professional-looking finish that protects your wood investment for years to come.
Frequently Asked Questions
How long should I wait before painting pressure-treated wood?
Standard pressure-treated lumber requires 3-4 months of drying time before painting. Kiln-dried treated wood can be painted immediately. Drying times vary based on climate, wood thickness, and airflow. In humid regions, you may need to wait longer, while in dry climates, the wood might be ready sooner. Always test the wood’s moisture content before painting to ensure optimal results.
How can I tell if treated wood is dry enough to paint?
Perform the water drop test by placing water droplets on the wood surface. If they absorb quickly, the wood is ready; if they bead up, it’s still too wet. Use a moisture meter for precise readings (below 15% is ideal). Look for visual cues like a faded greenish tint, lighter weight, and slight surface cracking. The wood should feel dry to the touch, not damp.
What happens if I paint treated wood too soon?
Painting too soon leads to adhesion problems and durability issues. You’ll likely experience peeling, flaking, and blistering as moisture trapped beneath the paint tries to escape. The chemical preservatives can interfere with proper bonding, causing immediate paint failure. Over time, trapped moisture may cause structural damage to the wood itself, requiring costly repairs and complete repainting.
Do I need to use primer on treated wood?
Yes, primer is essential when painting treated wood. Use a high-quality exterior primer specifically formulated for pressure-treated wood. Primer creates a barrier between the chemical preservatives in the wood and your paint, improving adhesion and preventing chemical reactions that could damage the finish. Allow the primer to dry completely according to manufacturer instructions before applying paint.
What type of paint works best on treated wood?
High-quality exterior latex (water-based) paint is ideal for treated wood. It offers flexibility, moisture resistance, and excellent adhesion. Latex paints allow residual moisture to escape, reducing the risk of bubbling and peeling. Avoid oil-based paints, which trap moisture and often have compatibility issues with modern wood treatments. For indoor applications, use low-VOC latex paints designed for interior use.
How should I prepare treated wood for painting?
Clean the wood thoroughly with a mild detergent solution to remove dirt, debris, and any surface chemicals. Rinse well and allow to dry completely. Sand the surface with medium-grit sandpaper to create texture for better paint adhesion and to remove any splinters or rough spots. Apply a high-quality primer formulated for treated wood, and allow it to dry completely before painting.
Why does treated wood take so long to dry before painting?
Pressure-treated wood contains chemical preservatives and water forced deep into the wood fibers under pressure. The drying process involves not just surface moisture but water embedded throughout the lumber. Modern waterborne preservatives can actually slow the drying process. Additionally, the density of the wood species used and the thickness of the lumber affect how quickly moisture can escape.
Can weather conditions affect the drying time of treated wood?
Absolutely. Environmental conditions significantly impact drying times. Warm temperatures and low humidity speed up drying, while cool temperatures and high humidity extend it. Direct sunlight helps accelerate moisture evaporation, but excessive rain exposure can reset the drying process. Proper storage in a covered, well-ventilated area with good air circulation around each piece of lumber optimizes drying time.


