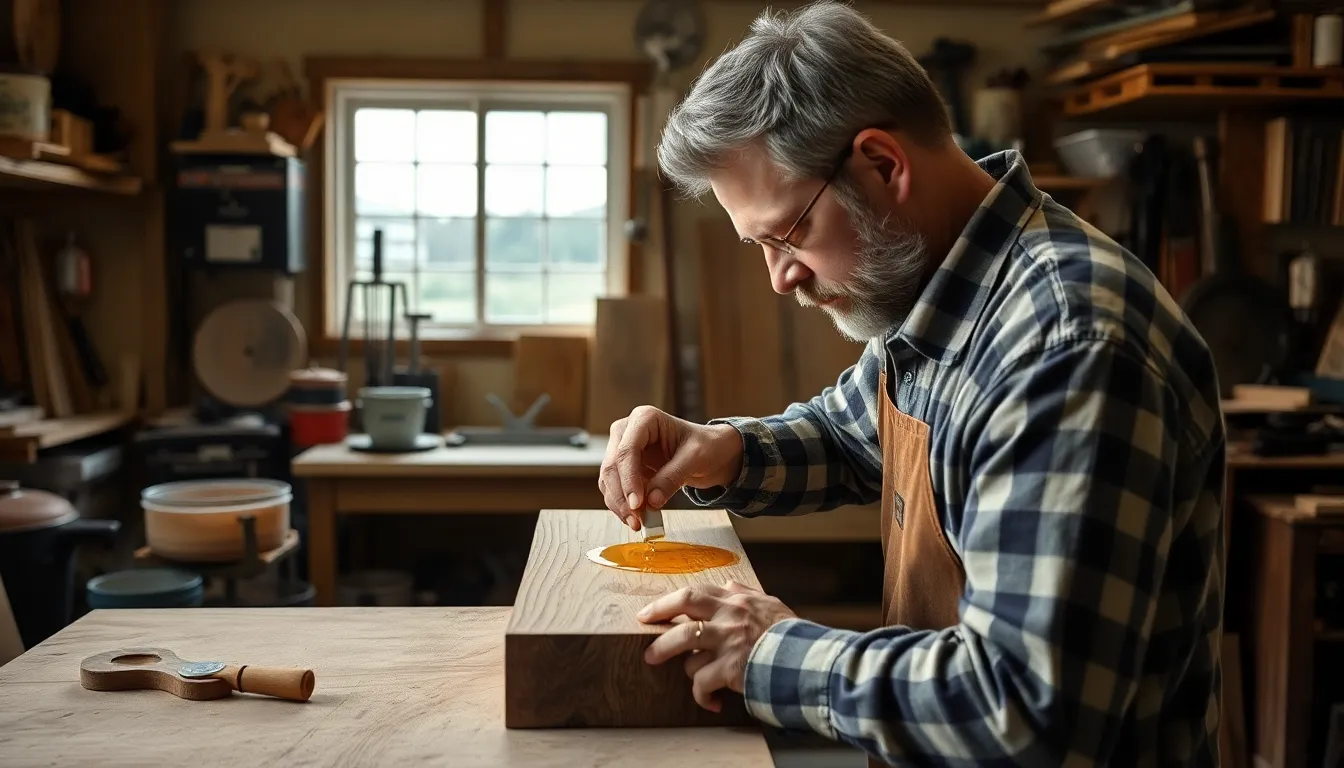
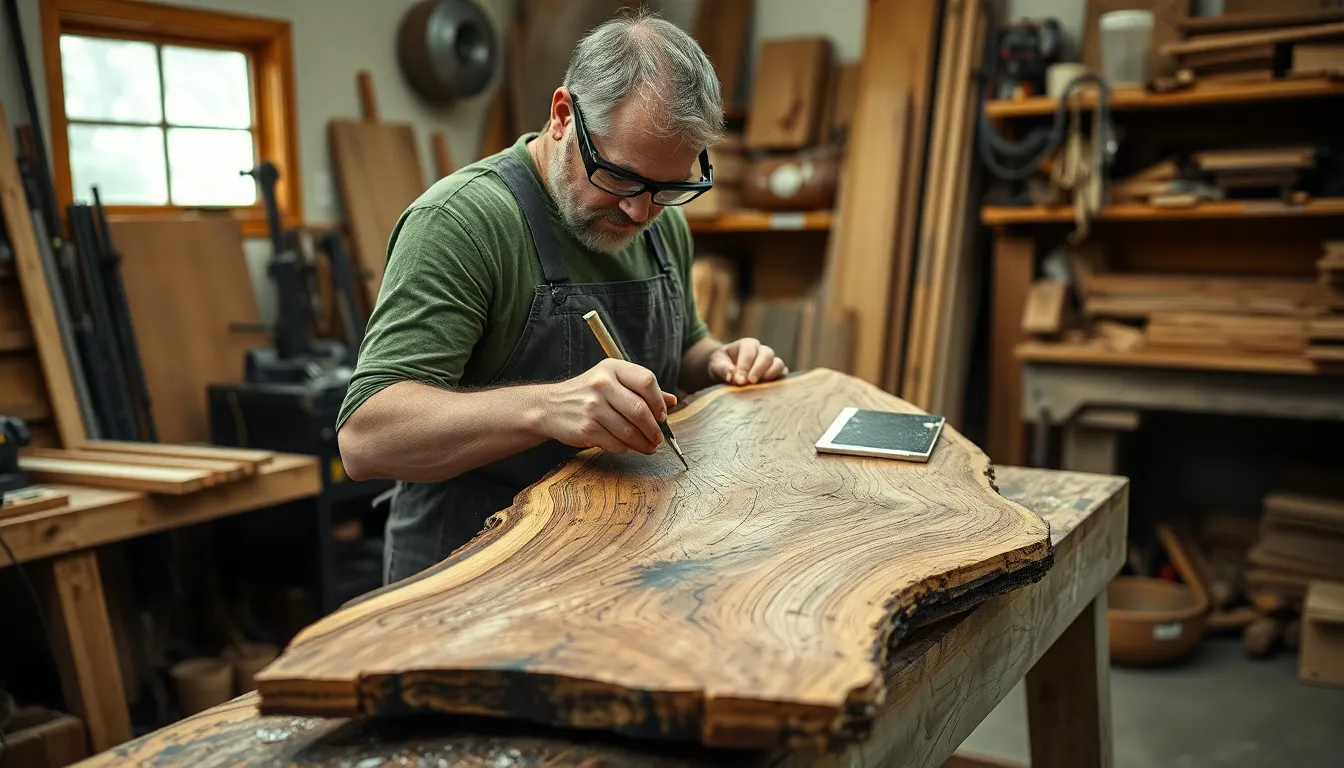
Transforming ordinary wood into a masterpiece requires more than skilled craftsmanship—it demands proper stabilization. Whether you’re creating a custom knife handle, turning a beautiful bowl, or preserving a treasured piece with sentimental value, wood stabilization is the secret to improving durability and preventing future damage.
We’ve spent years perfecting our wood stabilization techniques, and now we’re sharing our expertise with you. The process isn’t just about extending your woodwork’s lifespan; it’s about unlocking rich colors, improving grain patterns, and creating pieces that will stand the test of time. In this comprehensive guide, we’ll walk through everything from selecting the right stabilizing resins to mastering vacuum chambers for perfect penetration.
What Is Wood Stabilization and Why It Matters
Wood stabilization transforms porous, unstable wood into a stronger, more durable material through the infusion of specialized resins. The process involves removing air and moisture from the wood’s cellular structure and replacing it with hardening compounds that solidify when cured. These compounds penetrate deep into the wood fibers, filling voids and reinforcing weak spots that might otherwise lead to cracking, warping, or decay.
Craftsmen value stabilized wood for its enhanced properties in several key areas:
- Dimensional stability – Stabilized wood resists expansion and contraction with humidity changes, maintaining its shape in varying environmental conditions
- Increased durability – The resin reinforcement significantly boosts hardness and impact resistance, making the wood suitable for high-wear applications
- Moisture resistance – Treated wood becomes highly water-resistant, preventing rot and fungal growth in humid environments
- Enhanced workability – Previously soft or spalted woods become easier to cut, sand, and finish without tearing or splintering
- Preserved beauty – Natural grain patterns and character marks remain visible while colors can be intensified or modified with dyes
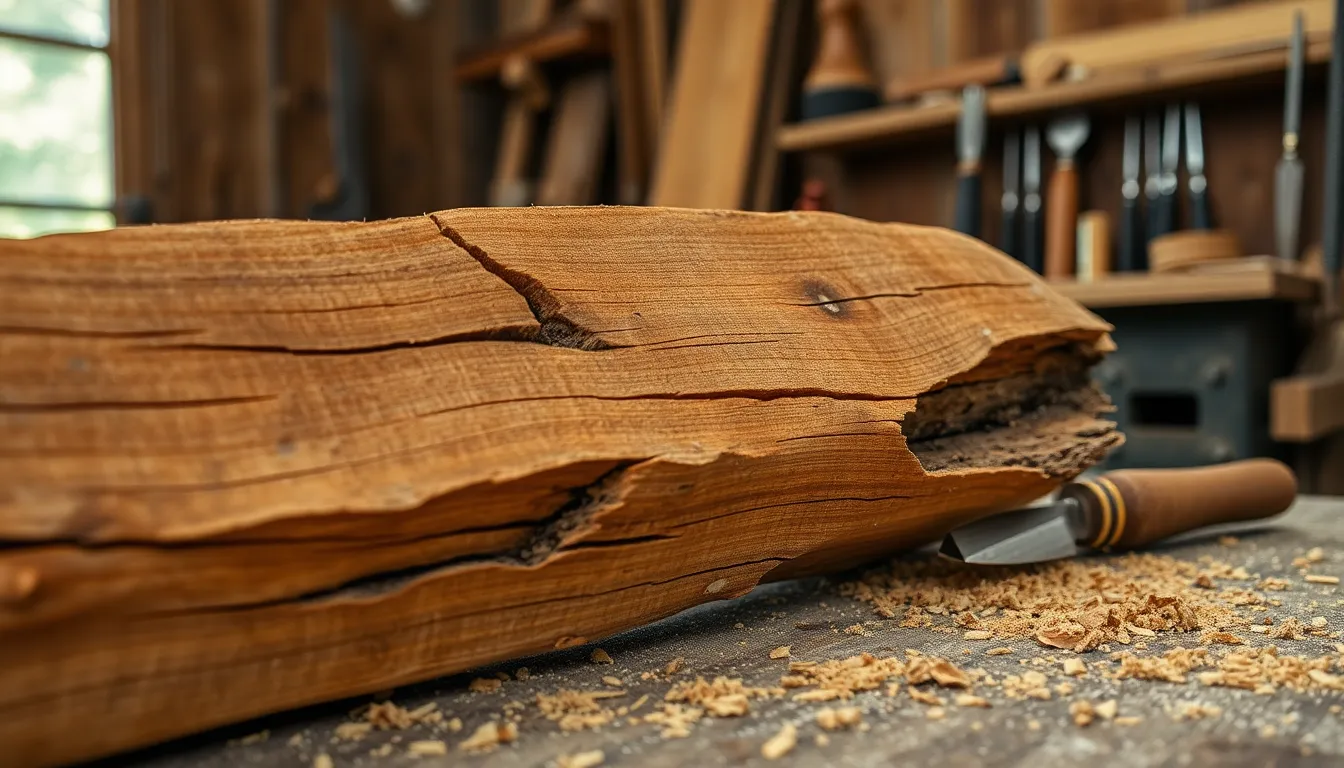
Woodworkers apply stabilization techniques to various species, particularly those with naturally soft or punky characteristics like spalted maple, box elder burl, or partially rotted woods. The treatment transforms these challenging materials into ideal mediums for knife handles, pistol grips, musical instruments, pen blanks, and decorative items that require both beauty and longevity.
The stabilization process has revolutionized how craftspeople use wood species previously considered too unstable for fine woodworking. Materials once discarded as unsuitable now command premium prices in specialty markets due to their unique aesthetic qualities combined with newfound durability.
Common Issues With Unstabilized Wood
Unstabilized wood presents many challenges that can compromise both functionality and aesthetics in woodworking projects. Without proper stabilization, wood remains vulnerable to environmental factors that significantly reduce its longevity and usability.
Warping and Cracking
Unstabilized wood absorbs and loses moisture unevenly, resulting in unpredictable dimensional changes that cause warping and cracking. These structural deformations occur as the wood’s cellular structure expands when absorbing moisture and contracts when drying out. We’ve observed that even slight humidity fluctuations can trigger these problems, particularly in thin pieces or sections with irregular grain patterns. Resin stabilization effectively addresses this issue by filling the wood’s cellular structure, preventing moisture exchange that would otherwise lead to these dimensional changes. The resin creates a permanent barrier against environmental moisture, keeping the wood in its desired shape regardless of surrounding conditions.
Rotting and Decay
Microbial organisms thrive in untreated wood with sufficient moisture content, leading to rot and decay that permanently damage the material. Fungi and bacteria penetrate wood fibers, breaking down cellular structures and compromising the wood’s integrity. This degradation process accelerates in humid environments or when wood comes into contact with water. Stabilization techniques eliminate the conditions necessary for microbial growth by replacing air and water within the wood’s structure with solid resin. The cured resin occupies spaces where moisture would normally accumulate, creating an environment inhospitable to decay-causing organisms. Also, stabilized wood gains increased density after treatment, improving its resistance to physical stress and environmental damage while adding beneficial weight that enhances the feel of finished products.
Essential Tools and Materials for Wood Stabilization
Successful wood stabilization requires exact materials and equipment to achieve professional results. We’ve compiled a comprehensive list of everything you’ll need to transform your porous wood into durable, stable pieces for your projects.
Stabilizing Answers and Resins
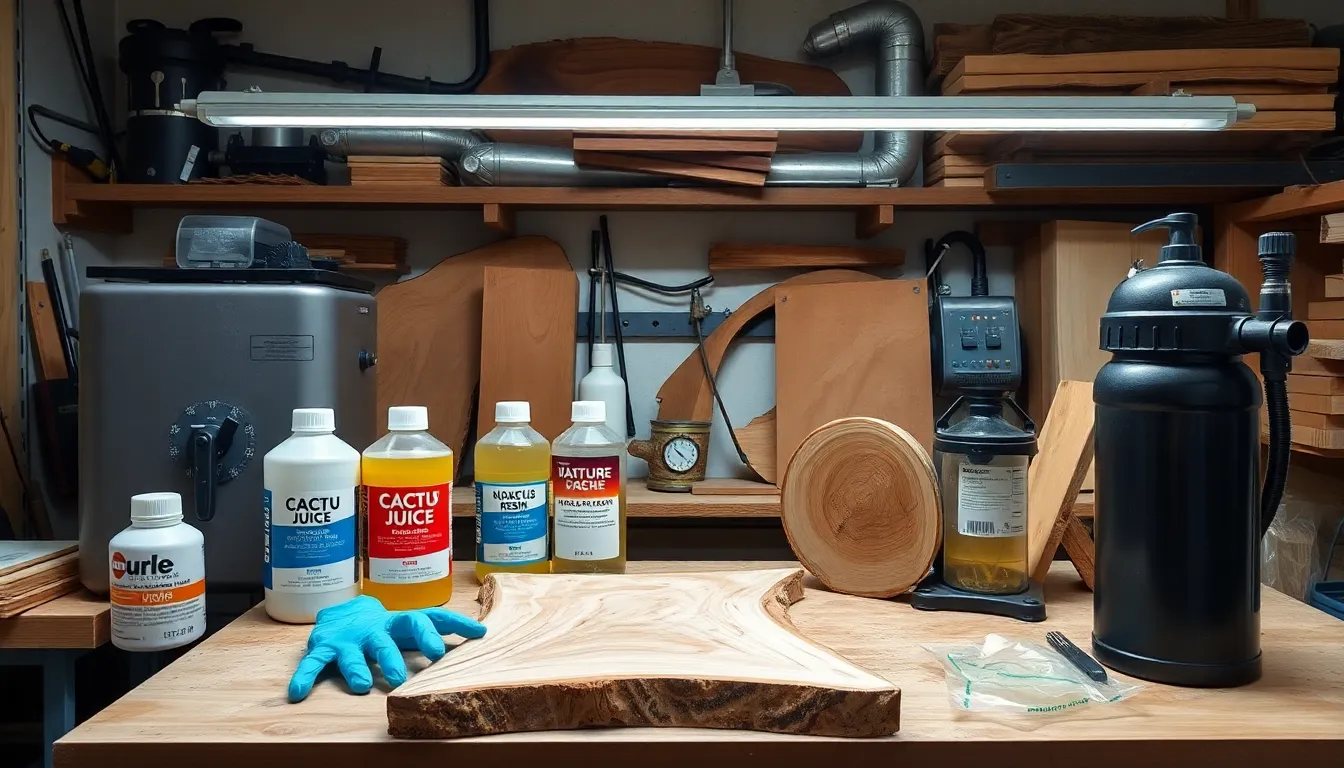
Stabilizing resins form the foundation of the wood stabilization process by penetrating wood fibers and hardening into a permanent structure. Cactus Juice stands out as a popular stabilizing resin specifically designed for vacuum chamber setups, making it ideal for both beginners and experienced craftsmen. Novacure Resin offers versatility through its activator-based formula, allowing integration with color dyes for customized aesthetic effects. For green or freshly cut wood, Pentacryl Green Wood Stabilizer works exceptionally well by replacing water molecules within the wood structure, effectively preventing cracking and warping during the drying process.
Equipment You’ll Need
A proper vacuum chamber serves as the cornerstone equipment for wood stabilization, essential for removing trapped air from wood cells and facilitating complete resin penetration. Laboratory ovens or other controlled heat sources provide the necessary environment for curing resins at exact temperatures, typically between 180-200°F depending on the resin manufacturer’s specifications. Additional necessary tools include nitrile gloves and protective goggles for safely handling potentially irritating resins, containers large enough to fully submerge your wood pieces in resin, and a reliable vacuum pump capable of achieving at least 25-29 inches of mercury vacuum pressure. The wood itself should have moisture content below 10% before stabilization begins, ensuring optimal resin absorption and preventing future stability issues.
Step-by-Step Wood Stabilization Process
Our professional wood stabilization process transforms ordinary wood into durable masterpieces through a series of precise steps. Following this methodical approach ensures optimal resin penetration and curing for superior results.
Preparing the Wood
Proper wood preparation forms the foundation of successful stabilization. Thoroughly dry your wood to 10% moisture content or less using an oven set between 200–225°F (93–107°C). Continue drying until the wood’s weight stabilizes, indicating that excess moisture has been removed. After achieving the desired dryness, store the wood in a sealed bag to prevent moisture reabsorption before proceeding to the stabilization phase.
Vacuum Chamber Method
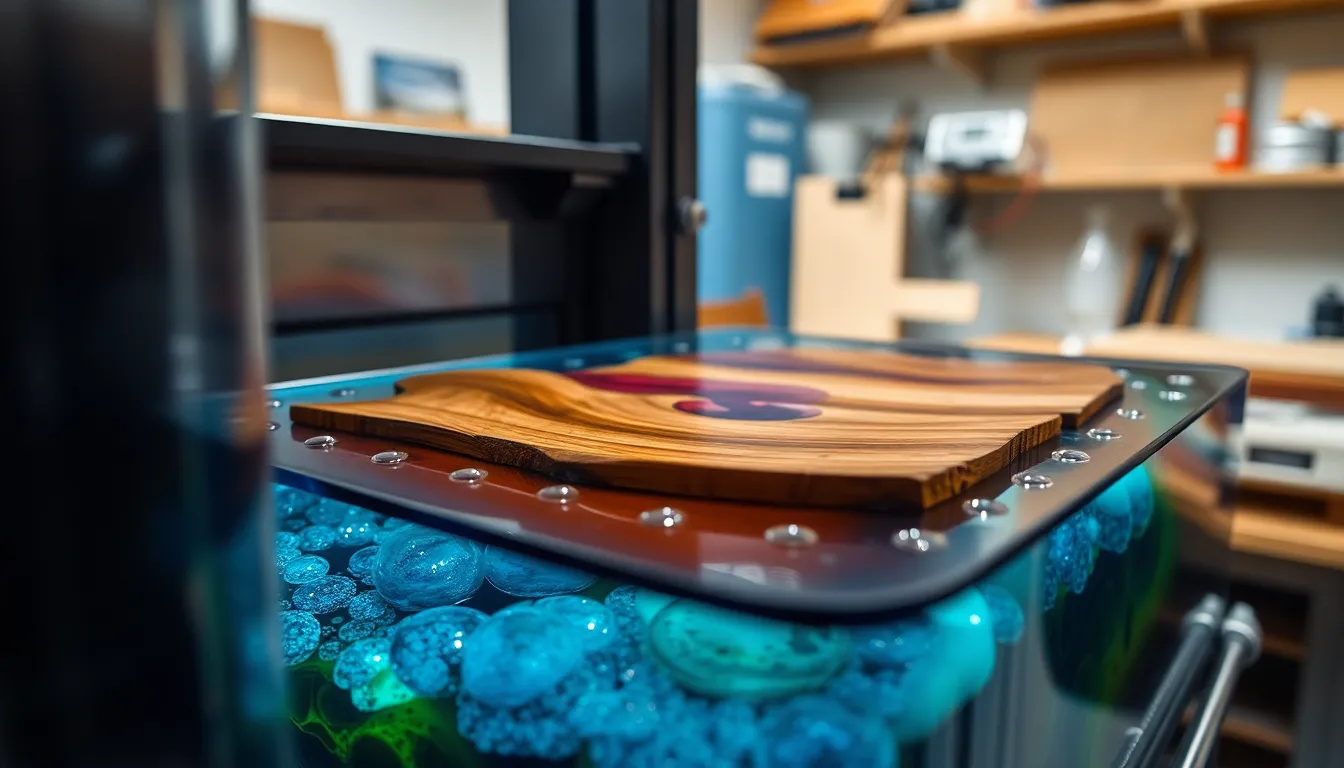
The vacuum chamber technique creates ideal conditions for complete resin saturation. Submerge your prepared wood pieces completely in stabilizing resin such as Novacure or Cactus Juice within your vacuum chamber. Apply vacuum pressure to extract air bubbles from the wood’s cellular structure, maintaining the vacuum until bubbling stops—a sign that air pockets have been eliminated. Allow the wood to soak in the resin for twice the duration of the vacuum application to ensure thorough penetration. Creative crafters often add dyes to the resin during this step to produce vibrant, colored stabilized woods for decorative projects.
Heat Curing Process
Heat curing permanently sets the resin within the wood’s structure. Remove your resin-soaked wood from the chamber and place it on a drip tray to catch excess resin—avoid wrapping in aluminum foil as this interferes with proper curing. Heat the wood to 200°F (93°C) in your curing oven, maintaining this temperature until the resin fully hardens throughout the piece. Successful stabilization typically doubles the wood’s original weight, providing a reliable verification method for complete treatment. This curing process transforms the liquid resin into a solid material that permanently reinforces the wood’s cellular structure.
Alternative Stabilization Techniques
While resin stabilization with vacuum chambers represents the gold standard for wood stabilization, other effective techniques exist for different project needs. These alternative methods offer varying levels of stabilization and can be suitable for exact applications when traditional methods aren’t feasible.
Boiled Linseed Oil Method
Boiled linseed oil provides a simple yet effective surface treatment that enhances wood’s durability. Unlike full stabilization, this method focuses on penetrating the wood’s pores to create a hardened surface layer. Multiple thin coats applied with ample drying time between applications yield the best results. The oil naturally soaks into the wood fibers, offering modest moisture resistance and a subtle enhancement to the wood’s natural appearance. This technique works particularly well for decorative items that won’t face extreme stress or moisture exposure.
Epoxy Stabilization
Epoxy stabilization offers exceptional strength enhancement for wood projects requiring structural integrity. Thin epoxy resins, specifically formulated for wood penetration, can be vacuum-impregnated into thoroughly dried wood similar to traditional stabilizing resins. The process requires vacuum equipment to ensure deep penetration throughout the wood’s cellular structure. Once cured, epoxy-stabilized wood exhibits remarkable hardness and moisture resistance. Craftspeople often select this method for high-stress applications where maximum structural reinforcement is essential. The final product maintains much of the wood’s natural appearance while dramatically improving its durability and dimensional stability.
Tips for Stabilizing Different Wood Types
Different wood types require exact stabilization approaches to achieve optimal results. Understanding these variations helps craftspeople select the right techniques and materials for each project.
Softwoods vs. Hardwoods
Softwoods and hardwoods respond differently to the stabilization process due to their structural differences. Softwoods like pine, cedar, and spruce feature larger pores and lower density, making them easier to saturate with stabilizing resins. These woods typically require shorter soaking times and absorb stabilizing compounds more readily throughout their structure. Hardwoods such as oak, maple, and walnut possess a denser cellular structure with smaller pores, necessitating longer soaking periods to achieve full saturation. We’ve found that extending the vacuum process by 25-50% for hardwoods compared to softwoods ensures proper resin penetration. Many craftspeople use higher vacuum pressures when working with particularly dense hardwoods to force the resin deep into the tight grain structure.
Working With Burls and Spalted Wood
Burls present unique stabilization challenges due to their irregular grain patterns and internal stresses. These unusual growths contain unpredictable voids and figure patterns that require special attention during the stabilization process. We recommend using multiple vacuum cycles for burls to ensure complete resin penetration into all the irregularities. Spalted wood, characterized by distinctive black lines created by fungal activity, often contains weakened areas that benefit significantly from stabilization. The stabilization process transforms potentially fragile spalted wood into durable material while preserving its striking patterns. Spalted maple, oak, and beech respond exceptionally well to stabilization with Cactus Juice resin, maintaining their dramatic figuring while gaining substantial structural integrity. Allowing extra soaking time after the vacuum process ensures that all the weakened areas become fully saturated with stabilizing resin.
Common Mistakes to Avoid When Stabilizing Wood
Wood stabilization requires precision and patience to achieve optimal results. Many craftsmen encounter setbacks due to overlooking crucial steps in the process. Understanding these common pitfalls helps ensure successful stabilization projects every time.
Using Damp Wood
Wood with moisture content above 10% significantly compromises the stabilization process. High moisture levels prevent resin from fully penetrating the wood’s cellular structure, resulting in incomplete stabilization. Always dry your wood thoroughly before beginning treatment, either through air drying or kiln drying methods.
Insufficient Vacuum Time
Failing to maintain adequate vacuum pressure traps air within the wood’s pores. These air pockets block resin from reaching all areas of the material, leading to uneven stabilization. Run your vacuum chamber until bubbles stop forming on the wood’s surface, which typically takes several hours depending on the wood type.
Rushing the Soaking Phase
Many craftsmen don’t allow enough time for complete resin saturation. Soak your wood for at least twice as long as the vacuum duration to ensure thorough penetration. Dense hardwoods often require extended soaking periods compared to more porous varieties.
Skipping Proper Heat Curing
Heat activation represents a critical step that transforms liquid resin into a hardened polymer. Without proper curing (typically at 200°F/93°C), the resin remains soft and tacky, providing minimal stability benefits. Follow the manufacturer’s temperature and duration guidelines precisely for complete polymerization.
Improper Resin Mixing
Products like Novacure require thorough mixing of resin and activator components. Inadequate blending creates inconsistent curing and weak spots throughout the stabilized piece. Shake or stir the mixture vigorously to achieve uniform distribution of all components.
Neglecting Safety Precautions
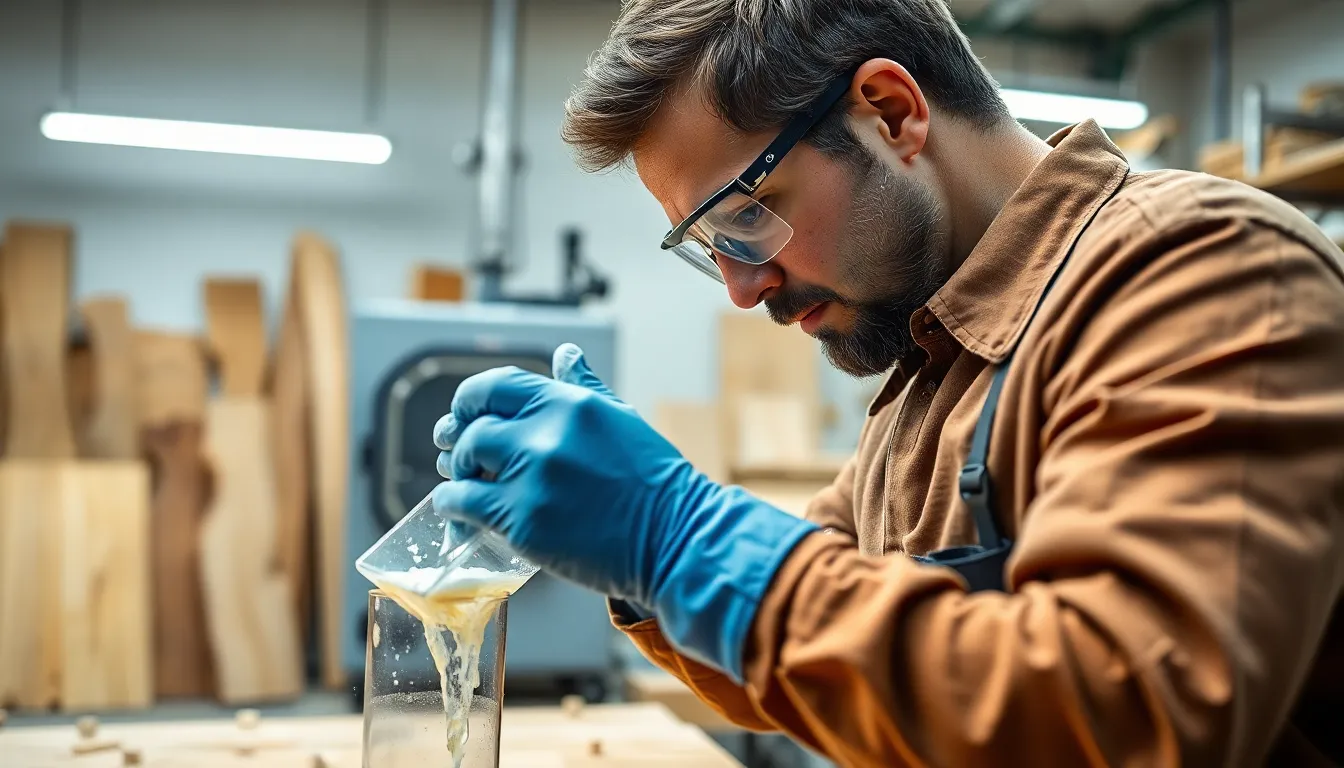
Resin exposure poses health risks when handled improperly. Nitrile gloves and protective eyewear aren’t optional accessories—they’re essential safety equipment. Work in well-ventilated areas and avoid skin contact with uncured resins.
Overcrowding the Vacuum Chamber
Packing too many wood pieces into your chamber restricts resin flow around individual pieces. Limited resin contact results in uneven penetration and inconsistent stabilization quality. Space your wood pieces appropriately to allow complete resin immersion on all surfaces.
Using Incorrect Stabilizers for Exact Wood Types
Different woods require specialized stabilization approaches. Green wood demands treatments like Pentacryl that replace water molecules without heavy resin impregnation. Research which stabilizers work best for your exact wood species before beginning the process.
Accelerating the Drying Process
Forcing wood to dry too quickly leads to cracking and checking. These structural defects can’t be repaired by resin stabilization and compromise the final piece. Allow proper time for natural moisture reduction, particularly with thicker or denser wood sections.
Disregarding Weight Changes
Stabilization significantly increases wood density, which affects balance and performance in finished projects like knife handles. Factor in the additional weight when designing your pieces, especially for applications where balance matters.
Conclusion
Wood stabilization transforms ordinary lumber into extraordinary creations with enhanced durability beauty and workability. By infusing specialized resins into the wood’s cellular structure we’ve shown how this process prevents common issues like warping cracking and decay.
Armed with the right materials techniques and knowledge you’ll be able to tackle projects ranging from knife handles to decorative bowls with confidence. Remember that each wood type requires a exact approach whether you’re working with softwoods hardwoods burls or spalted specimens.
Avoiding the common mistakes we’ve outlined will save you time frustration and materials. Wood stabilization isn’t just a technique it’s an art form that opens new possibilities for previously unusable wood species elevating your craftsmanship to professional levels.
Frequently Asked Questions
What is wood stabilization?
Wood stabilization is a process that infuses porous, unstable wood with specialized resins. This technique removes air and moisture from the wood’s cellular structure and replaces them with hardening compounds, enhancing dimensional stability, durability, moisture resistance, and workability while preserving the wood’s natural beauty.
Why is wood stabilization necessary?
Wood stabilization prevents common issues like warping, cracking, and rot that occur in untreated wood. Unstabilized wood absorbs and loses moisture unevenly, causing unpredictable dimensional changes that compromise functionality and aesthetics. Stabilization creates a permanent barrier against moisture and eliminates conditions necessary for decay, resulting in increased density and improved resistance to damage.
What tools and materials do I need for wood stabilization?
Essential tools include stabilizing resins (like Cactus Juice, Novacure Resin, or Pentacryl), a vacuum chamber for removing trapped air, controlled heat sources for curing, and appropriate safety equipment. The wood must have less than 10% moisture content before beginning the stabilization process for optimal results.
How does the vacuum chamber method work?
In this method, properly dried wood is submerged in stabilizing resin within a vacuum chamber. The vacuum pressure eliminates air bubbles from the wood, followed by a soaking period that allows thorough resin penetration. After soaking, the resin-soaked wood undergoes heat curing to permanently set the resin, reinforcing the wood’s structure.
Are there alternative stabilization techniques?
Yes. Boiled linseed oil offers a simple surface treatment suitable for decorative items, creating a hardened surface layer by penetrating wood pores. Epoxy stabilization provides exceptional strength for projects requiring structural integrity by vacuum-impregnating thin epoxy resins into dried wood, resulting in remarkable hardness and moisture resistance.
Do different wood types require different stabilization approaches?
Absolutely. Softwoods (with larger pores and lower density) absorb resins more readily and need shorter soaking times. Hardwoods require longer soaking periods and potentially higher vacuum pressures. Burls benefit from multiple vacuum cycles, while spalted wood needs extra soaking time to enhance structural integrity while preserving its distinctive patterns.
What are common mistakes to avoid when stabilizing wood?
Key mistakes include using damp wood, insufficient vacuum time, rushing the soaking phase, skipping proper heat curing, improper resin mixing, neglecting safety precautions, overcrowding the vacuum chamber, using incorrect stabilizers for specific wood types, accelerating drying, and disregarding weight changes. Precision and patience are essential for successful results.
What applications is stabilized wood best suited for?
Stabilized wood excels in high-wear applications like custom knife handles, musical instruments, decorative bowls, and specialty items that command premium prices. The stabilization process makes previously discarded wood species usable for fine craftsmanship, as they can now withstand environmental changes and physical stress while maintaining their beauty.
How do I know if my wood needs stabilization?
Wood needs stabilization if it’s porous, prone to movement, spalted, punky, or intended for use in changing environmental conditions. Signs include softness when pressed, visible spalting (fungal coloration), excessive splitting during drying, or if the wood will be exposed to moisture or humidity fluctuations during use.
Does stabilized wood require special maintenance?
Stabilized wood requires minimal maintenance compared to untreated wood. An occasional cleaning with a damp cloth and periodic application of a wood-safe wax or oil is sufficient. Unlike raw wood, stabilized pieces don’t need frequent conditioning or humidity control, as the resin permanently protects against moisture absorption and environmental damage.

