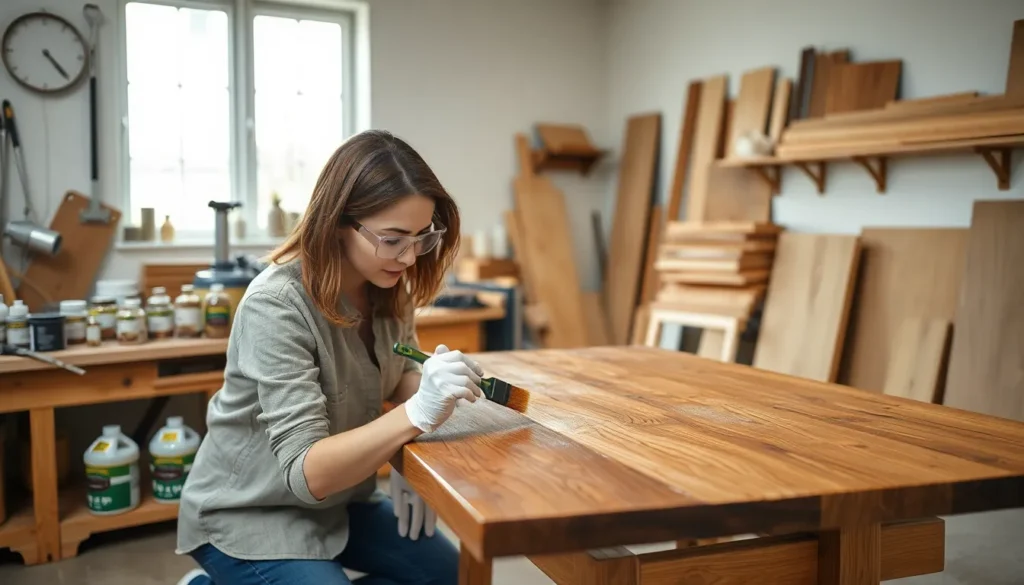
Wood veneer furniture brings elegance to our homes, but what happens when that thin layer of beautiful wood starts looking worn or doesn’t match your updated décor? Many homeowners wonder if restaining wood veneer is possible or if they’ll need to replace their cherished pieces.
We’re here to tell you that yes, you can restain wood veneer—with the right approach. While working with veneer requires more precision than solid wood due to its delicate nature, the transformation can be stunning. With proper preparation, suitable products, and careful technique, your veneered furniture can look brand new without very costly.
Understanding Wood Veneer and Its Properties
Wood veneer is a thin layer of real wood applied to a base material, offering the appearance of solid wood at a fraction of the cost. Understanding the nature and properties of veneer is crucial before attempting any refinishing project.
What Is Wood Veneer?
Wood veneer consists of thin slices of natural wood, typically 1/42″ to 1/16″ thick, bonded to a substrate like plywood, MDF, or particleboard. This construction method maximizes the use of premium wood species while maintaining structural stability. Unlike laminate (which is printed to look like wood), veneer is actual wood with authentic grain patterns, texture, and natural characteristics. The manufacturing process involves either slicing logs or rotary cutting them to create sheets that showcase distinct wood characteristics. These sheets are then carefully applied to the substrate using strong adhesives under pressure, creating furniture pieces that offer the beauty of solid wood without the associated weight or cost.
Common Types of Wood Veneer
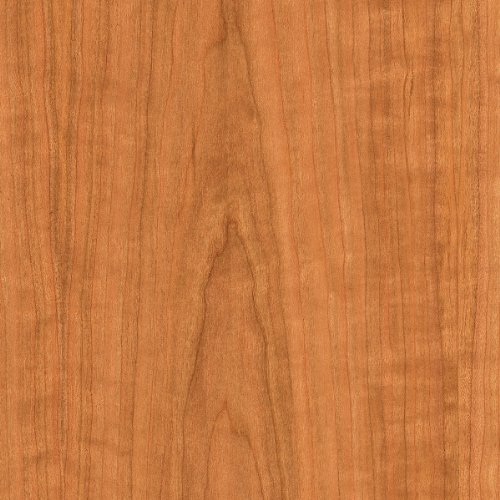
Wood veneers come in many varieties, each with unique characteristics affecting both appearance and restoration potential. Oak veneer features prominent grain patterns and excellent staining properties, making it one of the most popular choices for furniture. Maple veneer provides a lighter appearance with subtle grain, often used for contemporary pieces but sometimes challenging to stain evenly due to its density. Cherry veneer offers rich reddish-brown tones that deepen with age, accepting stains beautifully while developing a sought-after patina over time. Walnut veneer displays deep, chocolate-brown coloration with straight to wavy grain patterns, taking to refinishing exceptionally well. Mahogany veneer presents reddish-brown hues with distinctive grain patterns, historically used in high-end furniture for its elegant appearance and reliable staining results. Exotic veneers such as rosewood, ebony, and zebrawood feature dramatic patterns and coloration, requiring special care during the refinishing process due to their unique properties and often oily nature.


Can You Restain Wood Veneer?

Yes, wood veneer can be restained, but it’s not as straightforward as refinishing solid wood. The success depends on several key factors including the veneer’s thickness, current condition, and proper refinishing techniques. Since veneer is typically paper-thin, sanding and staining requires careful handling to avoid damaging the piece.
Factors That Determine If Veneer Can Be Restained
The thickness of your veneer plays a crucial role in restaining success. Older or high-quality veneers tend to be thicker, giving you more room for error when sanding. Thin modern veneers leave little margin for mistakes, risking exposure of the core material underneath.
Surface damage assessment is essential before beginning any refinishing project. Cracks or missing sections require repair with wood glue or filler before sanding. Keep in mind that repaired areas might not accept stain evenly, potentially necessitating alternative finishes like paint or gel stain.
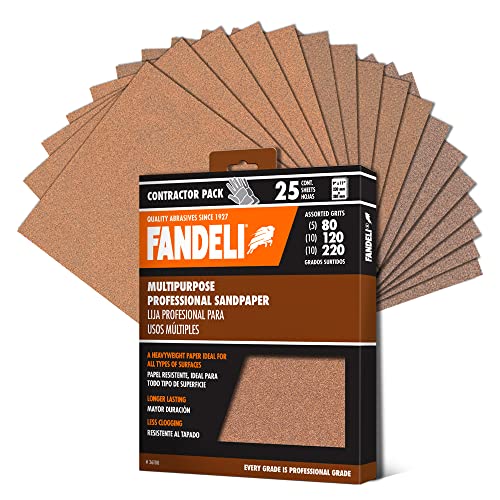
Proper sanding technique makes or breaks veneer refinishing. We recommend using progressive sandpaper grits (starting with 100, moving to 120, and finishing with 220 or 320) and working in small, controlled sections. Testing on inconspicuous areas first helps prevent over-sanding disasters.
The substrate material becomes important if sanding accidentally exposes the core. When MDF or plywood becomes visible, you’ll need to apply oil-based primer or wood filler for repairs before proceeding. Gel stain can serve as a useful alternative to mask imperfections, though it may reduce grain visibility.
Differences Between Solid Wood and Veneer Refinishing
Sanding depth represents the most important difference between solid wood and veneer refinishing. Solid wood can withstand aggressive sanding, while veneer requires extremely light, controlled passes to avoid breaking through the thin surface layer.
Repair complexity increases with veneer projects. Damaged sections often need specialized fillers or patches, whereas solid wood can simply be planed or sanded deeper to eliminate surface problems.
Stain absorption patterns differ substantially between these materials. Veneer’s thin layer may show uneven or blotchy staining if not properly prepared, while solid wood typically allows for more consistent absorption throughout the piece.
Risk assessment should factor heavily into your decision to restain veneer. The refinishing process carries a higher risk of irreversible damage compared to solid wood projects. One slip with the sandpaper could instantly expose the substrate, forcing you to switch to paint instead of stain.
Veneer refinishing remains entirely feasible with careful preparation and gentle technique. But, you should approach the project with patience and precision, understanding that errors may limit your finishing options.


Preparing Wood Veneer for Restaining

Proper preparation is the foundation of a successful wood veneer restaining project. This multi-step process ensures your veneer surface is ready to accept new stain evenly and produce lasting results.
Assessing the Current Condition
Thorough inspection of your wood veneer surface is the first crucial step before beginning any restaining work. Check for damages like scratches, chips, or worn-out areas that might need special attention during the restoration process. Identifying the exact type of wood veneer you’re working with helps determine the appropriate restaining approach, as different wood species accept stain differently. Oak and maple veneers, for example, have distinct grain patterns that influence how evenly they absorb new stain. Understanding the previous finish applied to your veneer is equally important, as oil-based finishes require different preparation than water-based options.
Cleaning and Sanding Techniques
A clean, properly sanded surface creates the ideal foundation for new stain application on wood veneer. Start by wiping the veneer with a damp cloth to remove accumulated dirt, dust, or debris that could interfere with the sanding process. The surface must be completely dry before proceeding to avoid trapping moisture under your new finish.
Sanding veneer requires a progressive approach with multiple sandpaper grits:
- Begin with 100-grit sandpaper to remove the old finish and surface imperfections
- Transition to finer 220-grit sandpaper to create a smooth surface ready for staining
- Always sand in the direction of the wood grain to prevent scratches or damage to the thin veneer layer
After completing the sanding process, apply your chosen stain followed by a protective finish such as shellac or lacquer. Working in a well-ventilated area is essential during finish application, particularly when using shellac or lacquer, as these products emit strong fumes that require proper air circulation.
Extremely thin veneers demand extra caution throughout the restaining process, as they’re susceptible to splitting or peeling if handled too aggressively. Testing your sanding technique on an inconspicuous area first provides valuable insight into how your exact veneer responds to the process.
Step-by-Step Guide to Restaining Wood Veneer

Restaining wood veneer requires careful attention to detail and proper technique to achieve professional results. Follow these essential steps to transform your veneered furniture without damaging its delicate surface.
- Surface Preparation: Clean the veneer with a damp rag to remove dirt and grime. Remove all hardware including handles and drawers to ensure complete access to all surfaces.
- Sanding: Begin with 100-grit sandpaper to remove the old finish and smooth any imperfections. Sand gently to avoid damaging the thin veneer layer.
- Stain Selection: Choose a stain that’s compatible with wood veneer. Test your selected stain on an inconspicuous area first to confirm the color and absorption.
- Application: Apply the stain evenly, following the direction of the wood grain. Wipe off excess stain immediately to prevent blotching and ensure even coverage.
- Drying: Allow 4-6 hours for the stain to dry completely. Ensure proper ventilation throughout this process for safety and optimal results.
- Protective Topcoat: Apply a polyurethane or wax finish to seal and protect your newly stained veneer surface.
Choosing the Right Stain for Veneer
The type of stain you select significantly impacts your project’s outcome. Oil-based stains penetrate deeper into the wood, improving grain visibility and providing rich color. These stains require longer drying times but offer excellent durability for everyday furniture pieces.
Water-based stains dry faster and emit fewer fumes, making them ideal for indoor projects where ventilation might be limited. They’re easier to clean up and environmentally friendly compared to oil-based alternatives.
Gel stains work exceptionally well on thin or uneven veneer surfaces. Their thicker consistency reduces blotching and provides more controlled application, minimizing the risk of oversaturation in vulnerable veneer areas.
Application Methods for Best Results
Different application techniques yield varying results when restaining wood veneer. Brushing works well with oil-based stains when using natural-bristle brushes that distribute the product evenly across the surface. This method allows for precise application in detailed areas.
Wiping the stain with lint-free cloths offers the most controlled coverage and reduces the risk of applying too much product. This technique lets you adjust the color intensity by controlling how much stain remains on the surface.
Spraying provides excellent results on large, flat veneer surfaces. HVLP (High Volume, Low Pressure) sprayers create even, consistent coverage but require practice to avoid overspray and uneven application.
Always avoid excessive moisture during the cleaning phase as it can damage veneer adhesives. Heat guns should be used cautiously as they can reactivate old adhesive and cause veneer lifting. For damaged areas, repair blisters or chips before staining by cutting blisters along the grain, regluing, clamping, and then sanding the area smooth.


Common Challenges When Restaining Veneer

Restaining wood veneer presents unique obstacles due to its delicate construction and thin profile. These challenges require exact techniques and careful handling to ensure successful refinishing without damaging the material.
Dealing With Thin Veneer Issues
Wood veneer’s minimal thickness creates important limitations during the refinishing process. Most modern veneers measure only 1/40 to 1/42 inch thick, providing very little material to work with during sanding. Excessive sanding quickly wears through the veneer layer, potentially exposing the underlying substrate—typically plywood or MDF—which ruins the appearance and cannot be fixed once damaged. When sanding veneer, it’s crucial to use light pressure and check your progress frequently to avoid creating thin spots or breakthrough points. Starting with a higher grit sandpaper (100 grit) helps minimize accidental removal of too much material while still effectively preparing the surface for new stain.
Addressing Bubbling and Peeling
Moisture interaction with veneer often leads to bubbling and peeling problems that complicate the restaining process. Veneer bubbles form when moisture penetrates beneath the thin wood layer, causing it to separate from the substrate. Peeling typically occurs in areas where the original finish has failed or where edge damage allows moisture infiltration. Before applying any new stain, all loose or damaged veneer must be carefully reglued using wood veneer adhesive and weighted pressure until fully cured. Proper sealing of the veneer with an appropriate primer before staining helps prevent future moisture issues. Applying stain with measured amounts rather than over-saturating the surface reduces the risk of introducing excess moisture that might cause new bubbles to form. Damaged edges particularly need attention, as they’re entry points for moisture that can spread underneath the veneer sheet.
Finishing and Protecting Newly Stained Veneer

Applying a protective topcoat is crucial after staining wood veneer to ensure its longevity and appearance. This final layer not only enhances the beauty of the newly stained veneer but also protects it from daily wear, moisture, and damage.
Sealing Options for Longevity
Lacquer stands out as the best option for durability, requiring at least three coats for optimal protection. For final coats, using an aerosol spray helps avoid unsightly brush marks while creating a smooth, professional finish. Polyurethane offers enhanced protection against moisture and wear, making it ideal for high-traffic furniture pieces like dining tables or desktops. Shellac provides a suitable alternative for low-traffic areas, though it requires periodic reapplication for proper maintenance. When applying these finishes, water-based varieties typically cure faster—often within hours—compared to oil-based options that may need a full 24 hours between coat applications.
Maintenance Tips for Restained Veneer
Keeping your restained veneer in pristine condition requires regular care with appropriate cleaning methods. Harsh chemical cleaners can damage the protective finish, so stick with mild soap and water for routine cleaning. Protective coats should be reapplied every 2-3 years if signs of wear become visible, ensuring continued protection of the veneer underneath. Always protect veneered surfaces from direct heat sources and excessive moisture, as these conditions can cause the thin wood layer to lift or warp over time. Coasters under drinks, trivets under hot dishes, and prompt cleaning of spills will extend the life of your newly finished veneer significantly.
Conclusion
Restaining wood veneer is certainly possible with the right approach. We’ve seen how proper preparation careful sanding and selecting appropriate products can transform tired veneer into beautiful refreshed furniture.
Remember that patience is key when working with veneer’s delicate structure. Take your time with each step especially sanding and focus on gentle techniques to avoid damaging the thin wood layer.
With the knowledge and methods we’ve shared you can confidently tackle your veneer restoration projects. Your efforts will reward you with revitalized furniture that maintains its character while aligning perfectly with your home’s aesthetic all without the expense of replacement.
Frequently Asked Questions
Can wood veneer be restained?
Yes, wood veneer can be restained with proper techniques. While it requires more precision than solid wood due to its thin nature, successful restaining is achievable with careful preparation, appropriate products, and gentle techniques. The key is to sand lightly to avoid breaking through the veneer layer while ensuring the surface is properly prepared for accepting new stain.
How thick is typical wood veneer?
Wood veneer thickness varies significantly. Traditional or high-quality veneers can range from 1/28″ to 1/16″ thick, while modern production often uses thinner veneers (sometimes as thin as 1/42″). Older furniture typically has thicker veneer, allowing more room for sanding during refinishing. Always test in an inconspicuous area before proceeding with full refinishing.
What’s the difference between veneer and laminate?
Veneer is a thin layer of real wood attached to a substrate, offering authentic wood grain and natural characteristics. Laminate is a synthetic product with a printed wood-like pattern covered with protective plastic. Unlike laminate, veneer can be sanded and restained because it’s genuine wood, though with limitations due to its thinness.
How do I prepare wood veneer for restaining?
Start by thoroughly cleaning the surface with a mild cleaner to remove dirt and oils. Then, lightly sand using progressively finer grits (starting with 120-150 and finishing with 220) in the direction of the grain. Sand just enough to remove the old finish without breaking through the veneer. Repair any damaged areas before staining.
What type of stain works best on wood veneer?
Gel stains often work best on veneer because they sit on the surface rather than deeply penetrating, reducing the risk of uneven absorption. Oil-based stains provide rich color but require longer drying times. Water-based stains dry quickly and offer less odor but may raise the grain slightly, requiring additional light sanding between coats.
How can I tell if my furniture is veneer or solid wood?
Examine the edges of the furniture. Veneer will show a distinct thin layer of wood over a different substrate. Look at the grain pattern—if it’s identical on top and edges, it’s likely solid wood. Veneer often has seams where sheets meet. Check underneath or inside drawers where the construction is visible to identify the core material.
Can damaged veneer be repaired before restaining?
Yes, damaged veneer can be repaired. Small bubbles can be fixed by injecting glue and clamping. For chips or missing sections, patching with wood filler or replacing with matching veneer patches is possible. Severe damage may require professional attention. All repairs should be completed and fully dried before attempting to restain the piece.
How do I prevent sanding through veneer?
Use light pressure and start with finer sandpaper (150-180 grit) rather than coarse grits. Sand in the direction of the grain and check your progress frequently. Use sanding blocks for even pressure distribution. Test your technique on an inconspicuous area first. Consider hand sanding rather than power tools for greater control.
What protective finish should I apply after staining veneer?
Polyurethane is highly durable and suitable for high-use surfaces, available in various sheens. Water-based polyurethane dries faster with less odor. Lacquer provides a hard, clear finish that dries quickly but requires careful application. Apply 2-3 thin coats rather than one thick coat, lightly sanding between coats for the best results.
How do I maintain restained wood veneer furniture?
Clean with a soft, slightly damp cloth and mild soap if needed. Avoid harsh chemicals and excessive moisture. Use furniture polish or wax specifically designed for wood every few months. Protect from direct sunlight and extreme temperature changes. Address spills immediately to prevent damage to the finish. Reapply a protective topcoat every few years.


