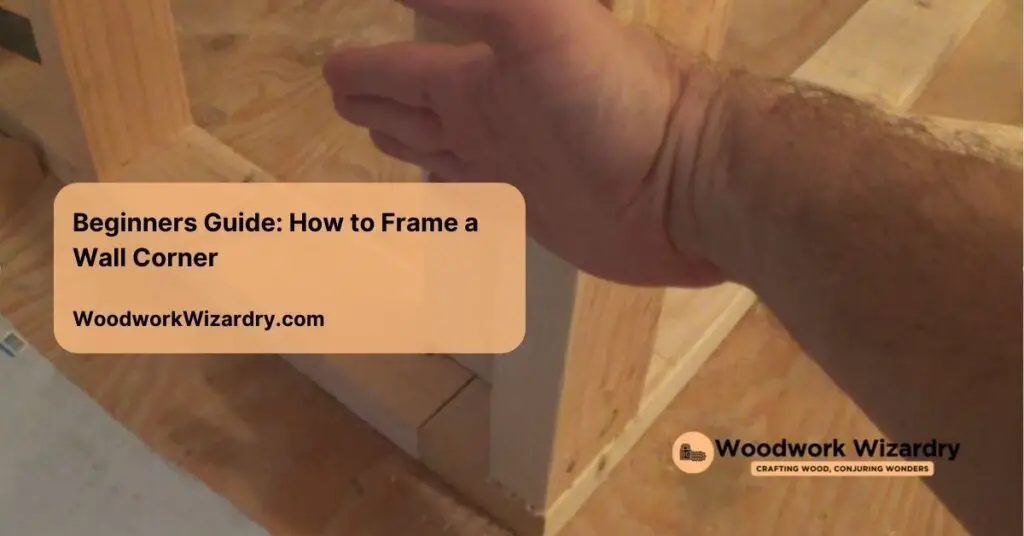
Tackling a home improvement project can feel intimidating, but learning how to frame a wall corner doesn’t have to be overwhelming. Whether you’re building a new room or renovating an old space, mastering this essential skill can save you money and give you the satisfaction of creating something with your own hands. With the right guidance, you’ll be surprised at how achievable it is—even for a beginner like you.
Understanding The Basics Of Wall Framing

Framing a wall corner starts with understanding basic principles and tools. Knowing these essentials ensures your project is set up for success.
Key Terminology And Tools
Learn key terms to communicate and execute effectively. “Studs” are vertical framing members, often spaced 16 or 24 inches apart. “Top plate” forms the upper horizontal structure, while “sole plate” or “bottom plate” anchors the framing to the floor. “Blocking” fills gaps or provides support, and “headers” span above openings like doors or windows.
Gather essential tools before starting. Use a tape measure for accurate dimensions and a framing square for precise 90-degree angles. A circular saw cuts wood smoothly, while a nail gun fastens members quickly. Finally, safety gear like gloves and goggles ensures protection.
Importance Of Measuring And Planning
Accurate measurements lay the foundation of a successful wall corner. Mark stud locations properly to avoid misalignments. Double-check dimensions to ensure openings like doorways will fit.
Plan your layout based on functionality and structural needs. Confirm load-bearing specifications if the wall supports weight. Sketching the framing design can also minimize errors during execution.


Steps To Frame A Wall Corner

Framing a wall corner involves a methodical approach, ensuring stability and alignment for your structure. Follow these clear steps to maintain accuracy and achieve professional results.
Preparing Your Workspace
Set up a clean and spacious area to work efficiently. Move any obstructions like furniture or debris from the workspace. Use proper lighting to improve visibility when measuring and assembling components. Arrange your tools, including the circular saw, tape measure, framing square, and nail gun, within easy reach.
Marking And Measuring
Identify and mark stud locations on the sole plate based on your planned design. Use a tape measure to confirm spacing, typically 16 inches center-to-center for most walls. Clearly label key areas, such as the placement for intersecting walls, to avoid confusion during assembly. Double-check your layout against the sketch to ensure consistency.
Assembling The Wall Frame
Align the top and sole plates parallel to one another on a flat surface. Attach the studs vertically between the plates, using a framing square to maintain 90-degree angles. Secure the connections with nails or screws while ensuring each stud matches its marked position. Add headers or blocking if the design includes wall openings, like doors or windows.
Securing The Corners Properly
Join the wall sections at the corners using overlapping studs to lock the structure. Reinforce the connection with additional nails or screws where the walls meet. Check the alignment with a carpenter’s level to confirm the corner remains square. Add any required bracing to support the load if the corner integrates into a load-bearing wall.

Common Mistakes To Avoid

Framing a wall corner requires precision to ensure stability and proper alignment. Avoiding common mistakes simplifies the process and prevents structural issues.
Incorrect Measurements
Accurate measurements determine the success of a wall corner. Miscalculating stud locations or dimensions leads to misalignments and weak connections. Use a tape measure and double-check all measurements before cutting materials. Skipping this step can result in gaps or an uneven frame. Always mark reference points clearly to guide assembly and keep all cuts consistent with your planned layout.
Insufficient Support Structures
Proper support ensures the wall corner remains stable. Neglecting to add blocking, extra studs, or reinforcements where needed weakens the structure, especially in load-bearing sections. Check that connections at corners overlap or interlock securely to distribute weight evenly. Avoid relying solely on nails without backup reinforcements like screws or construction adhesive in critical areas.
Skipping Safety Precautions
Safety should never be overlooked during framing. Failing to wear safety gear like gloves, safety goggles, and sturdy footwear increases the risk of injuries. Rushing through the process without inspecting tools for functionality reduces accuracy and poses hazards. Maintain a clear workspace, secure loose boards, and use proper techniques when handling power tools to prevent workplace accidents.
Tips For Beginners

Getting started with framing a wall corner can feel overwhelming, but breaking it down into practical steps makes the process manageable. Focusing on preparation, planning, and guidance ensures a smoother experience.
Choosing The Right Materials
Selecting quality materials directly impacts the structural integrity of your wall corner. Use sturdy lumber, such as 2×4-inch boards, for studs, sole plates, and top plates. Choose nails or screws that are compatible with framing requirements to secure connections safely. Invest in durable safety gear, like gloves and goggles, to protect yourself throughout the project. Avoid warped or damaged wood to minimize alignment issues later.
Following A Clear Plan
Organizing a detailed plan ensures higher accuracy during the framing process. Begin by sketching the wall corner layout with precise measurements for all studs and plates. Double-check dimensions for window and door openings to prevent alignment errors. Preparing a checklist of tools and materials simplifies execution and minimizes delays. Adhering to your initial plan helps avoid structural inefficiencies and reduces mistakes.
Consulting Experienced Builders
Seeking advice from professionals saves time and improves results. Local contractors can provide feedback on your plans, ensuring they meet construction standards. Experienced builders often share tips on reinforcing studs and securing load-bearing corners effectively. Online forums and video tutorials offer additional insights for troubleshooting issues during the framing process. Always verify the reliability of your sources to avoid missteps.
Conclusion
Framing a wall corner might seem challenging at first, but with the right tools, a solid plan, and attention to detail, it’s a skill you can confidently master. By taking a step-by-step approach and prioritizing quality materials and accurate measurements, you’ll set yourself up for success.
Don’t hesitate to seek advice from professionals or explore additional resources if you need extra guidance. Every project you complete builds your confidence and adds to your growing expertise. Now’s the perfect time to put your knowledge into action and tackle your next home improvement project with ease.


